Pesto 101

Pesto 101

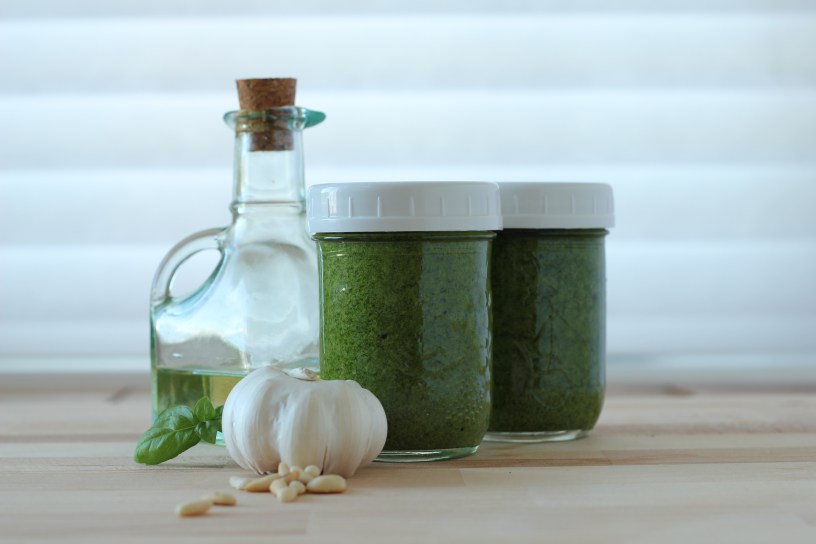
It is summer. The fruit and vegetable crops are coming into the season in our gardens and farmers markets. This past weekend at the trailer in a torrential rain storm with limited TV choices, I watched a cooking show where the chef blanched the basil before making her pesto. Intrigued, I called on my Mom and Dad’s abundant basil crop to try it myself.

This potent sauce is versatile—on pasta, in an omelet, and paired with chicken—and because I can freeze it, I can make pesto when basil is at its best and then continue to enjoy it through the fall. Bonus!

Pesto 101

Yields 2-250 ml Mason Jars
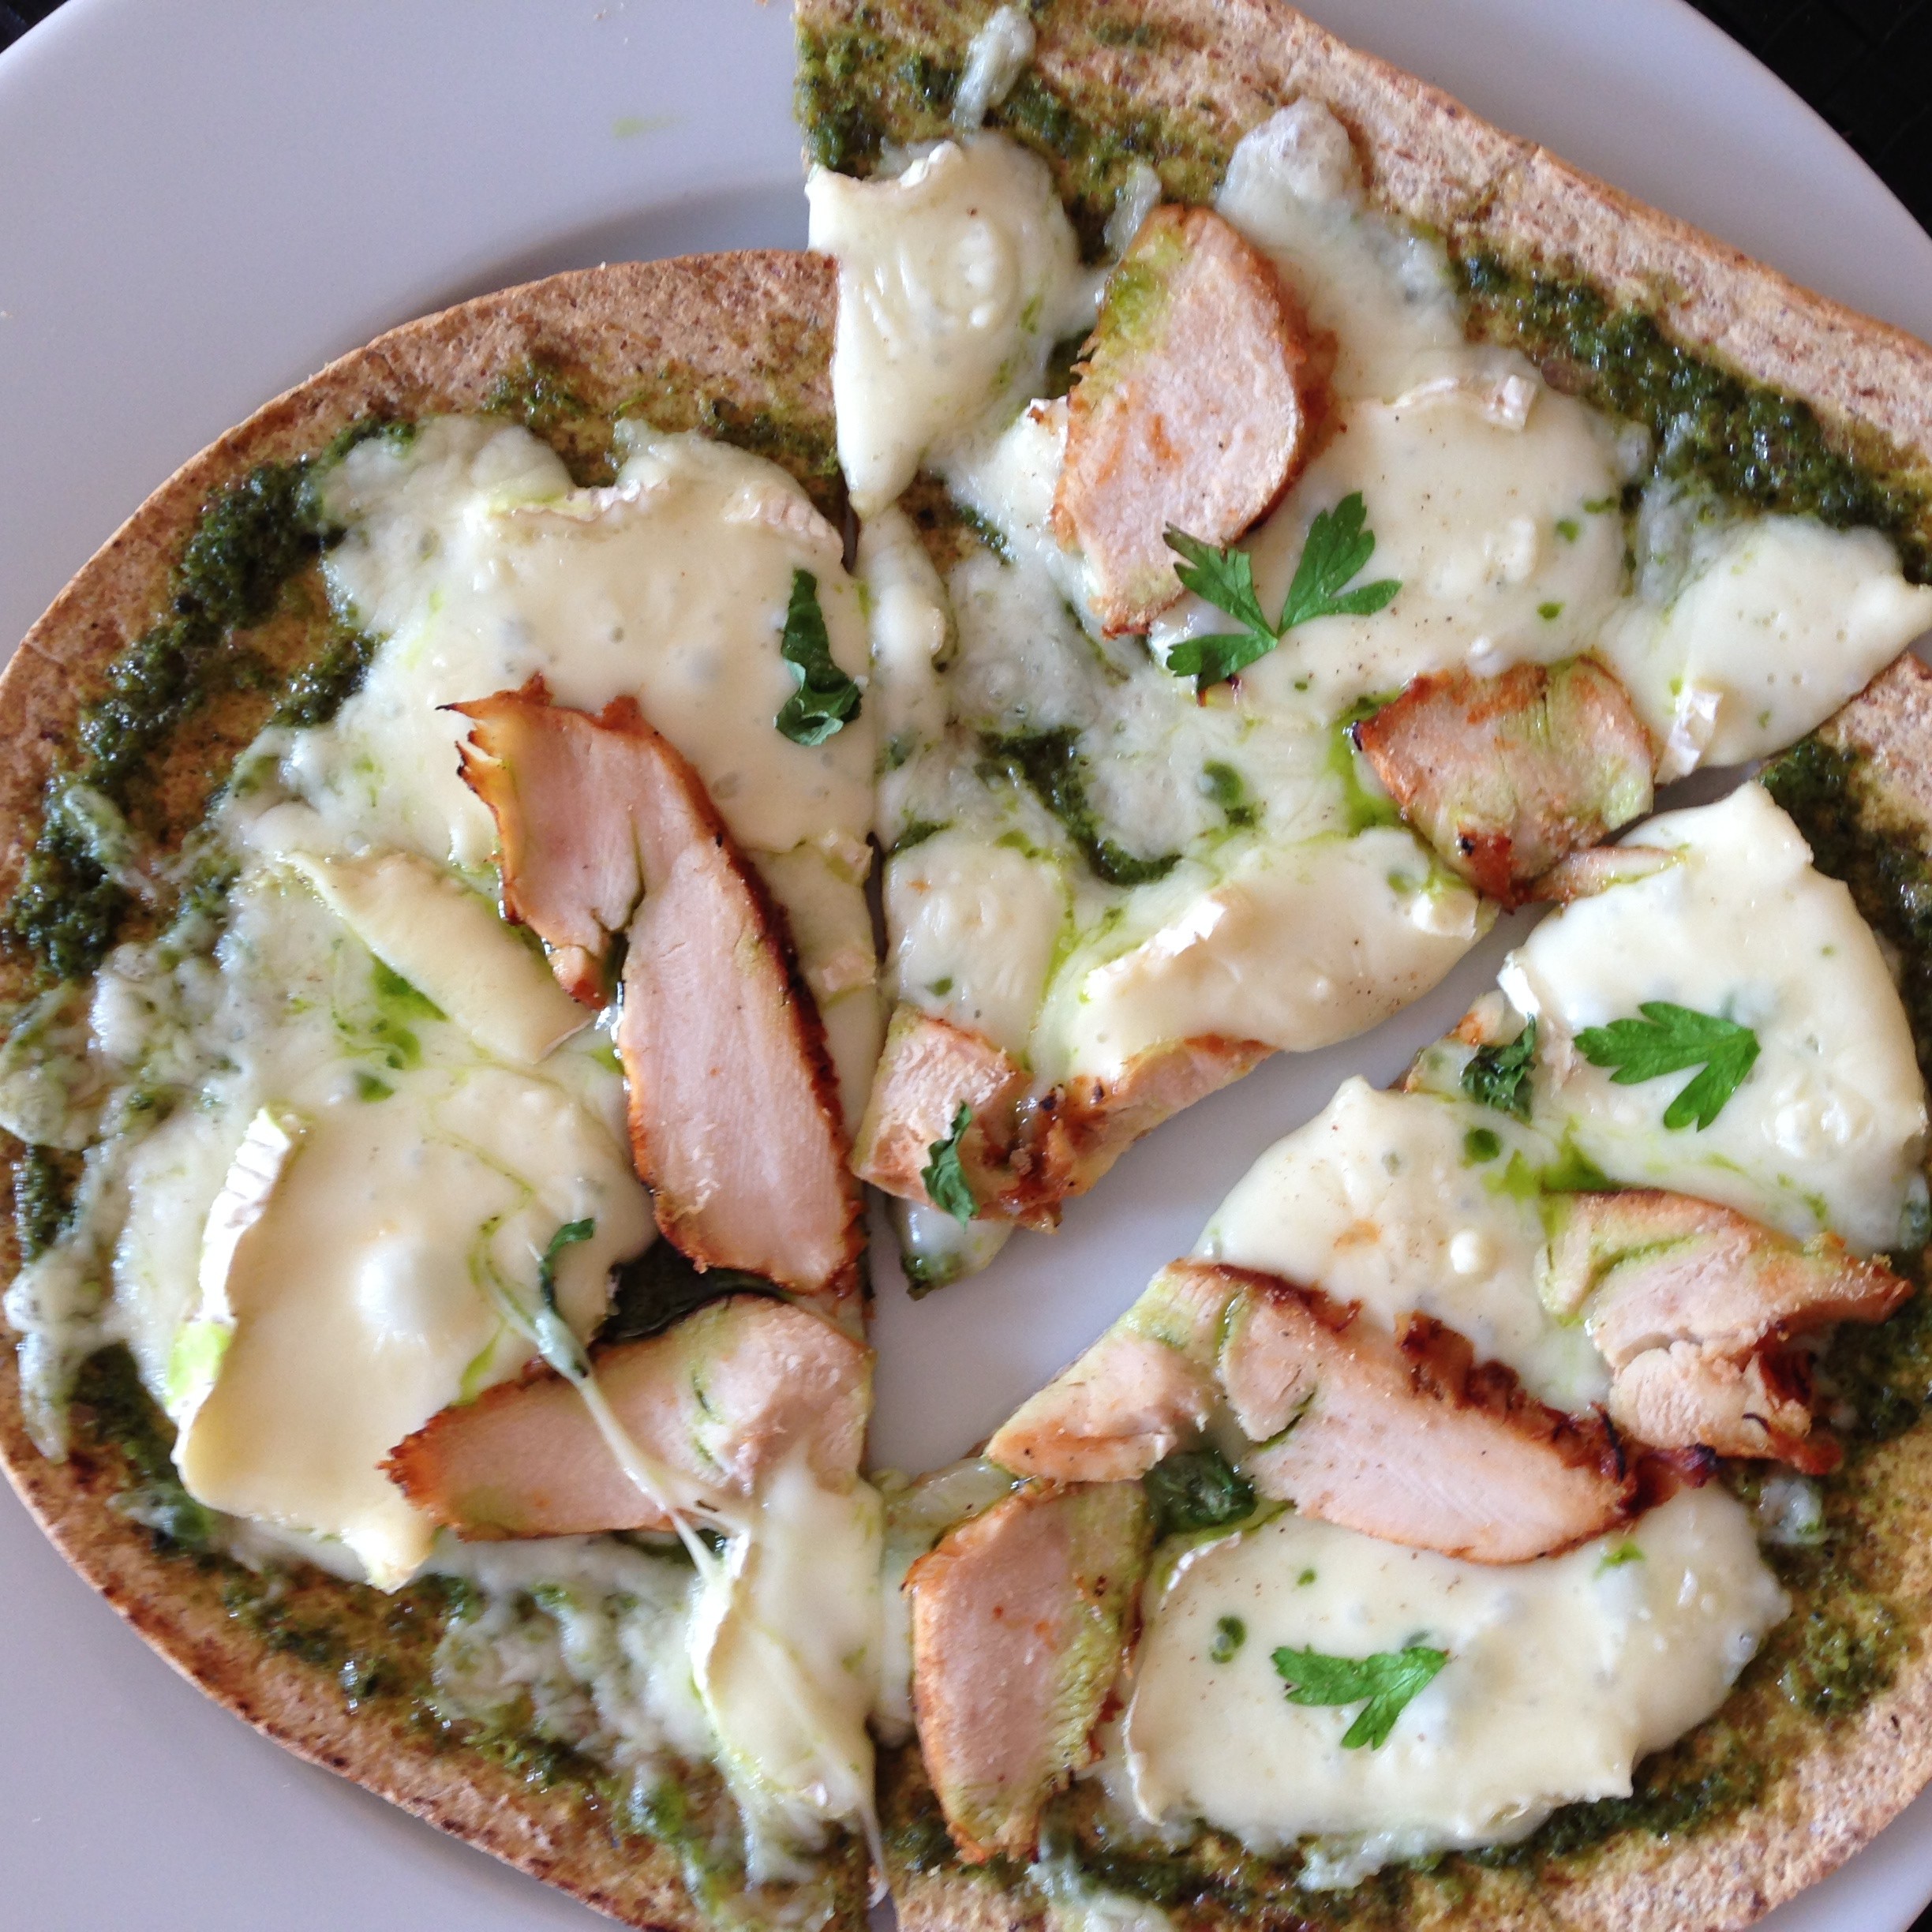
Whole Wheat Flatbread Pizza with BBQ Chicken, Brie and Pesto Sauce

Whole Wheat Flatbread Pizza with BBQ Chicken, Brie and Pesto Sauce

Mise En Place

  • 1+ cups extra virgin olive oil
  • ¼ cup Parmigiano-Reggiano cheese, grated
  • ¼ cup pine nuts, toasted
  • 3 whole garlic cloves, blanched, peeled, sliced*
  • Large bunch Genovese basil, approx. 3 cups, picked and blanched
  • 2 tsp. kosher salt
  • ¼ tsp. ground white pepper
  • 4 tsp. blanching water**

Bring heavily salted water to boil in a saucepan.***

Prepare a bowl of ice water ready.

Reduce heat to low and simmer; place the garlic cloves in the simmering water. *I don’t enjoy the after taste or ‘garlic breath’ from a pungent garlic flavour in any sauce, poaching the garlic helps to reduce this.

Also add the leaves and smaller stems of the Genovese basil in the water. Do not overload the pot, if necessary blanch in 2 stages.

The basil will turn bright green and it really only needs a few seconds (about 15 secs) in the simmering water. Remove the blanched basil and immediately place in bowl of ice water. Drain immediately, squeeze out excess water.

Once the garlic has softened, remove from the simmering water, peel and slice.

Reserve approx. ¼ cup of the blanching liquid.

What I discovered from a quick blanch before blending softens the basil, and this helps it emulsify more easily to produce a smoother yet full-bodied sauce. Another great reason to blanch purely cosmetic a brighter green color that holds for several days. 

Making the Pesto:

A traditional pesto is about the ingredients that go into it. Use the best quality ingredients you can find and afford.

Basil, pine nuts, cheese, and extra virgin olive oil.

The manner in which these ingredients are combined tends to differ from chef to chef. As its name implies, pesto, it comes from the Italian verb pestare, which means to crush or mash that is why it is traditionally made using a-mortar and pestle.

I’ve never attempted to make pesto with that much elbow grease or time, although some swear that pounding gives you the best flavour.

I prefer to use a blender. I think the blender’s tapered shape help the ingredients get puréed more evenly as they are drawn into the blade. You’ll have to help the puréeing along by periodically stopping the motor and moving the ingredients around with a spatula or a spoon.You don’t want to just let the blender run and heat up the components of the sauce.

Another preferred method is using a food processor. I think the ingredients tend to bounce around and fly onto the sides of the bowl, resulting in an inconsistent texture.

Whatever method use choose, the result will be a great sauce.

  1. Start by pulverizing the garlic and pine nuts together.
  2. Remove excess water from blanched basil leaves.
  3. Then add the basil and pulsed it until finely minced.
  4. Add the 4 tsp. of reserved blanching liquid.
  5. When well blended, add grated cheese, salt, and pepper and whirl until just blended.
  6. Taste and adjust seasoning.
  7. Add as much extra virgin olive oil in a thin stream, stirring it in until desired consistency is achieved. Make sure to stir the olive oil in at the end, since blending olive oil at high speeds can give it bitter flavours.

Pesto can brighten your menu in many ways:
• Swirl a dollop into a potato, tomato, or white bean soup.
• Add a tablespoon to a simple vinaigrette for drizzling on grilled vegetables.
• Spread some on pizza dough as a base, in place of or in addition to tomato sauce. See dinner pic below.
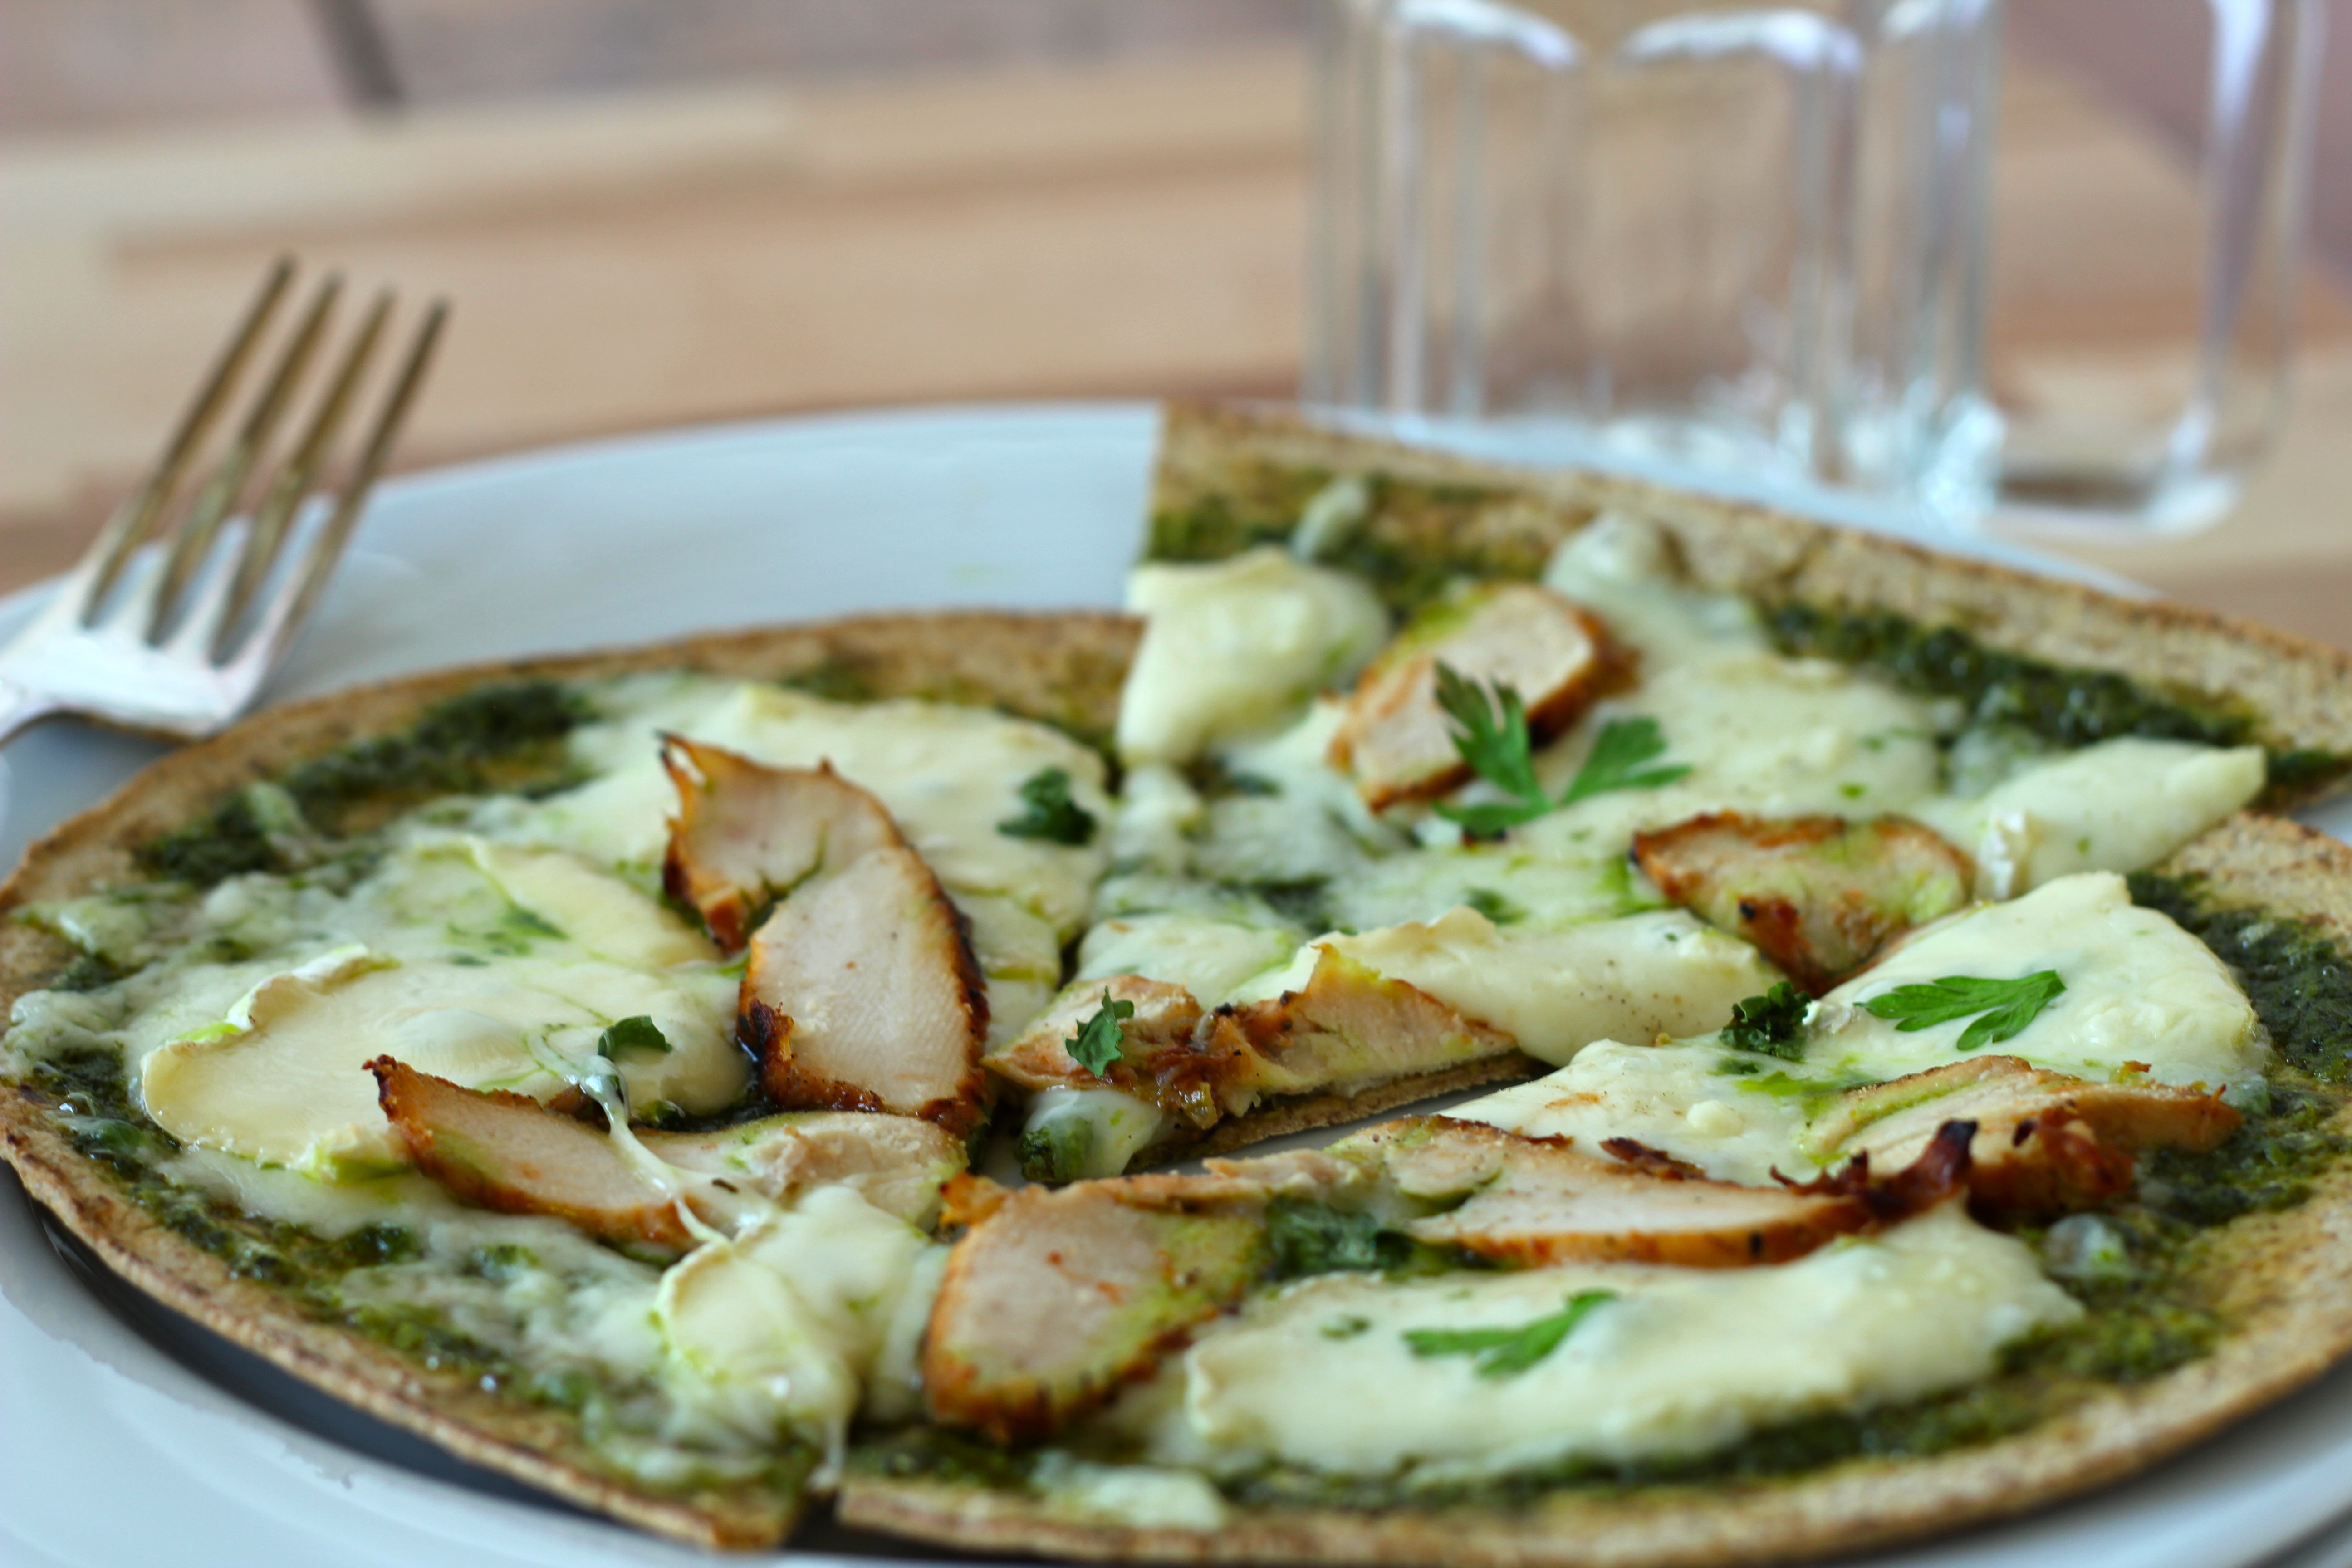
Whole Wheat Flatbread Pizza with BBQ Chicken, Brie and Pesto Sauce

Whole Wheat Flatbread Pizza with BBQ Chicken, Brie and Pesto Sauce

Take advantage of this peak season for basil—you’ll get the best quality at the best price—by preparing several batches of pesto.

Refrigerate it in an airtight container, you plan to use it within a week.

Tip: Pour the pesto into ice-cube trays, freeze, and then put the cubes in a freezer bag for storage for up to three months. You can also freeze small amounts of pesto in little plastic snack bags (and then stack those in a bigger freezer bag) for when you want enough for just one portion of pasta or for a dollop in a soup or stew. If you flatten the pesto in the bag, the thin amount can be quickly defrosted by soaking the bag in tepid water.

**There was soooo much flavour in the blanching liquid and the consistency wasn’t what I was hoping for, so I decided to add it to my final sauce. You can definitely eliminate this step.

***Whenever I’m seasoning cooking water for blanching or cooking pasta, I use a ‘heavy’ hand with how much kosher salt I add. The water should have ‘the taste of the sea’. It imparts a lot of flavour.

More the 5 o’clock rush dinner dishes in the future will definitely incorporate my pesto 😀

Weekday Wrap Up 2

Summer is officially in full swing.

This Weekday Wrap Up pictures are from lunches, snacks and dinners that happen at the 5 o’clock rush 

For more pics follow the5oclockrush on Instagram

Have a great weekend and enjoy the heat wave in Ontario.

Chef Kim

chefkim1968@gmail.com

Another Weekday Wrap Up

Weekday Wrap Up Premiere

It is Friday and the Premiere of

Weekday Wrap Up

This is a new feature on the 5 o’clock rush that showcases the pictures of Weekday dinners that I have prepared for my family. These are simple dinners from what could be in my fridge, freezer, and/or pantry and even a trip to the supermarket.

In our weeknight dinners, I usually try to incorporate a starch, vegetables and protein. Sometimes the vegetables are only a green salad or avocado and cucumber slices. Vegetarian meals or ‘Meatless Mondays’ happen occasionally, but I’m striving for every Monday.

Like any busy on-the-go Mom out there, I do use pre-made foods from the supermarket, especially when our evenings are packed with activities. And yes, grilled cheese sandwiches do make it into circulation but with real cheese, not cheese slices.

Can’t be 5 Michelin Star dinners every night 😉

I’m also attempting improve my pictures by using my DSLR camera more often over my iPhone. Only problem is I eating my dinner plate a little colder now. 😦

I hope that you enjoy this new feature.

Chef Kim

chefkim1968@gmail.com

For more pics, follow my Instagram feed:

the5oclockrush on Instagram


{New} Friday Feature: Weekday Wrap Up

Sometimes the 5 o’clock rush is just dinner at my house. Nothing fancy, simple basic ingredients from my pantry, fridge or freezer and a trip to the supermarket. No measuring, or creating recipes just cooking and getting dinner on the table.

I thought as a way to share these dinners, I would have a new feature on Fridays called:

Weekday Wrap Up

A frenzy of dinner pictures with no recipes. And since it is summertime, dinners are less consistent or as planned and being at the trailer adds to the inconsistency.

As suggested by one of my dear friends, I will try to take more pictures by using my DSLR camera EOS Rebel T2i – Canon Canada Inc. instead of just limiting the photos to the security of my iPhone.

I have been researching and experimenting with my DSLR at the trailer. This resource has been very helpful Food Photography: From Snapshots to Great Shots Book by Nicole S. Young | Trade Paperback | chapters.indigo.ca.

Below are some food pictures using my DSLR and my iPhone to compare. There is a big difference between the pictures especially ‘depth of field’, new fancy photographer talk. But taking pics at the trailer is much easier with the natural light since I’m outside for the set up. Replicating this at home will be the real challenge.

The frenzy will start this Friday. And let me know if you enjoy!

Chef Kim

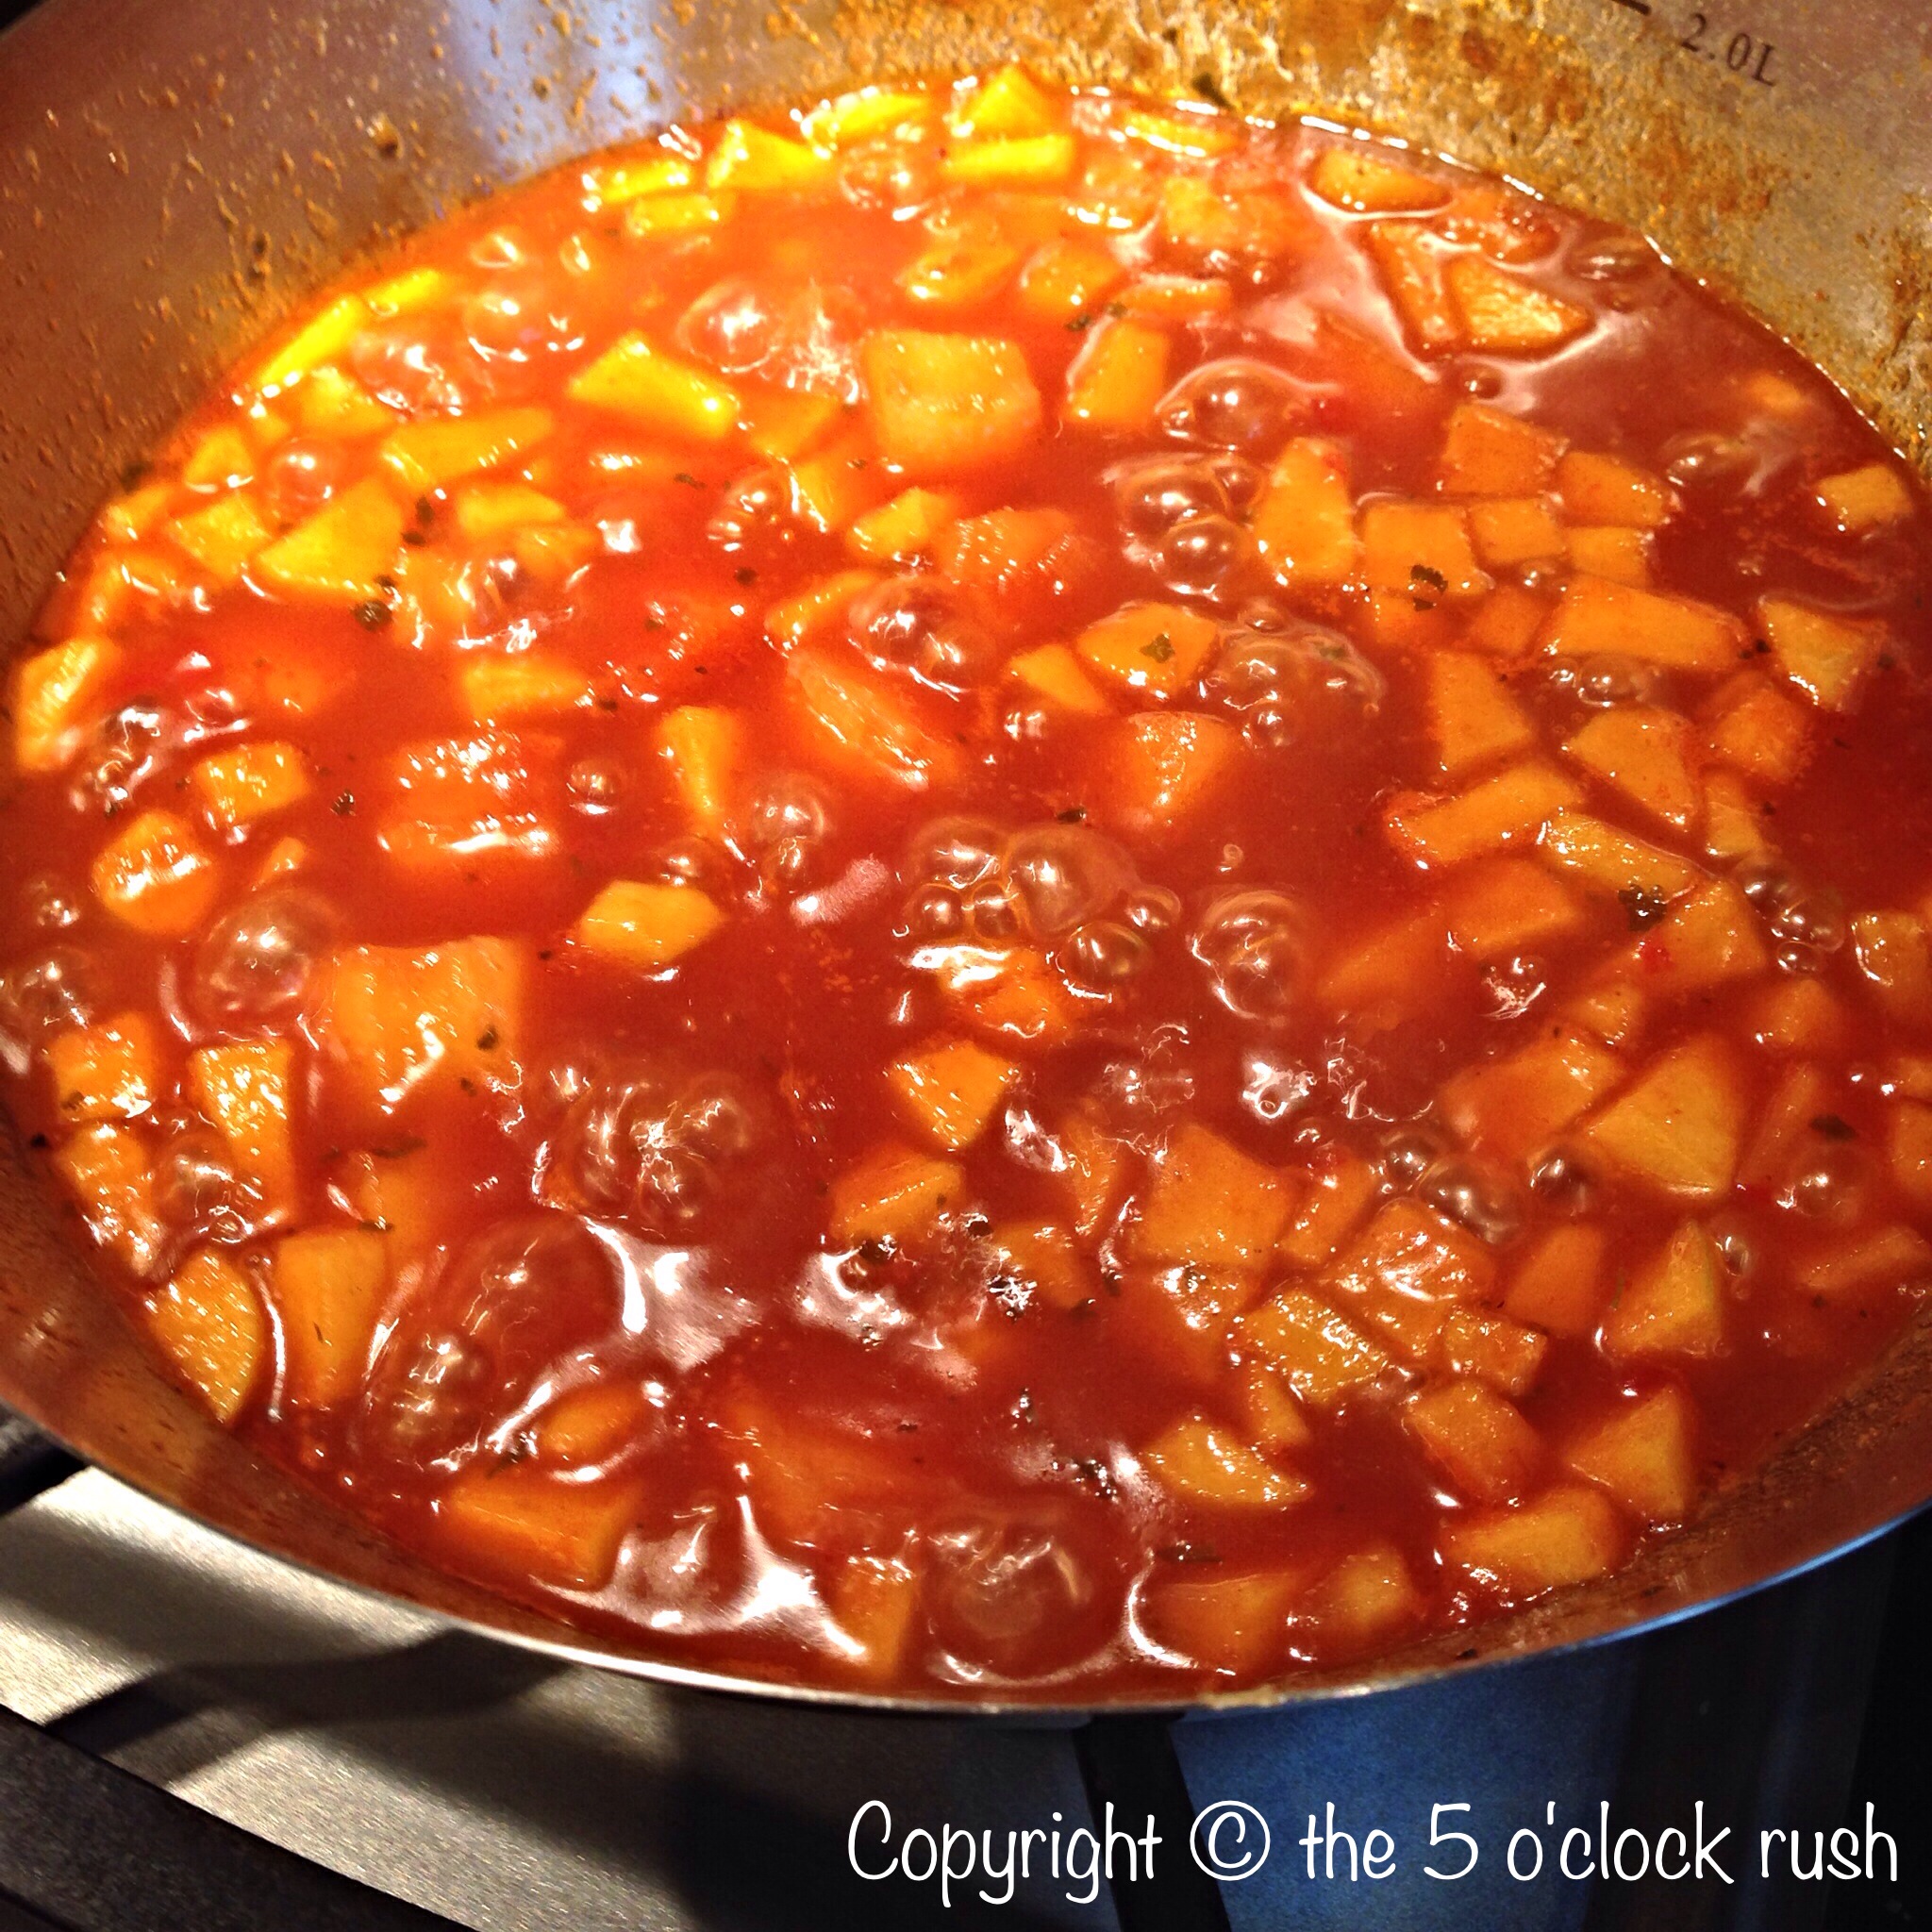
Smoker Pork with Homemade Pineapple, Apple BBQ Sauce

Over any given weekend during the summer when the weather is beautiful, we will be BBQing or in this case smoking a variety of meats.

My DH has been experimenting with smoking meats since we began our early camping adventures. He started with a Cabela’s Premium Stainless Steel 7-in-1 Cooker/Smoker : Cabela’s. which worked well but the constant ‘feeding’ the coals and controlling the temperature can be tedious. And when you enjoying the day with a few cocktails, who wants soooo much work.

This Christmas, I gave my DH Bradley Digital 4-Rack Electric Smoker | Canadian Tire. It is such a step up and far more predictable and easier to control your ingredients. The machine feeds the ‘wood pucks’ and digitally controls the temperature.

He smoked a pork butt (shoulder), a spatchcock chicken* and I threw in the cob of corn and baking potatoes in the smoker as an experiment.

Smoker Pork with Homemade Pineapple, Apple BBQ Sauce

IMG_3720

Homemade Pineapple, Apple BBQ Sauce

Mise En Place

  • 1 onion, chopped
  • 2 cloves garlic, finely grated
  • Canola oil
  • 1-540 ml can of pineapple chunks
  • 1 red pepper, seeded, roasted and peeled
  • 1 granny smith apple, peeled and chopped
  • zest of lime or lime
  • ¼ cup of ketchup
  • ½ cup chunky chili sauce
  • ½ cup Garden Fresh medium salsa**
  • ½ tsp. sriracha
  • ½ tsp. onion powder
  • ½ cup of brown sugar
  • 1 tbsp. Worcestershire sauce
  • 1-2 tbsp. of cornstarch
  • 1-2 tbsp. of water
  • 1 tsp. fresh rosemary, finely chopped

Place enough canola oil to coat the bottom of a sauce pan. Saute chopped onions until it becomes fragrant, then add the finely grated garlic. Saute for 1-2 min. do not burn the garlic. Strain the juice from the canned pineapple chunks and reduce.

Add remaining ingredients except for the cornstarch, water and fresh rosemary. Bring to a boil and reduce to medium-low, simmering for 10-15 minutes until the apples are softened and flavours come together.

Using a potato masher, mash the chunks from the pineapple/apples in the bbq sauce until it is desired consistency. If you like a smoother consistency, use an immersion blender. 

To thicken the sauce, mix equal parts cornstarch and water. Slowly add to the sauce and stir.

Serve with pulled pork, chicken or fish.

*Spatchcock is when poultry that has been prepared for roasting or grilling by removing the backbone, and sometimes includes removing the sternum of the bird and flattening it out more fully before cooking. This preparation may also be known as butterflying the bird. 

**Using ingredients from my fridge or ‘bottom of the jar’ is something I tend to add to my recipes. This Garden Fresh Medium Salsa was something that I purchased at a discount for a previous dinner and didn’t want to go to waste.

FYI Although there was all this meat being smoked, we didn’t eat this in one sitting. 😉 The chicken leftovers were removed from the bone, chopped and froze and came in really handy for lunch wraps at the trailer.

The Pulled Pork sandwiches were consumed the following day and the BBQ sauce came together very quickly for dinner that night.

The ‘smoked’ corn was……SMOKY, an interesting colour and really well different. I removed the kernels from the cob and froze to be used in a future dish or maybe even a recipe.

Always check out my Instagram @the5oclockrush  to see my daily dinners photos.