American Thanksgiving is in 9 days!
If you haven’t Thaw your turkey! Start thawing it in the refrigerator on a rimmed cookie sheet ASAP.
FYI A completely frozen turkey needs 24 hours for every 5 pounds of turkey (weight). A thawed turkey sitting around for an extra day or two in the refrigerator is much better than having to deal with a frozen turkey on Thanksgiving day.
Here is a checklist of your Turkey roasting equipment inventory you will need before Thanksgiving:
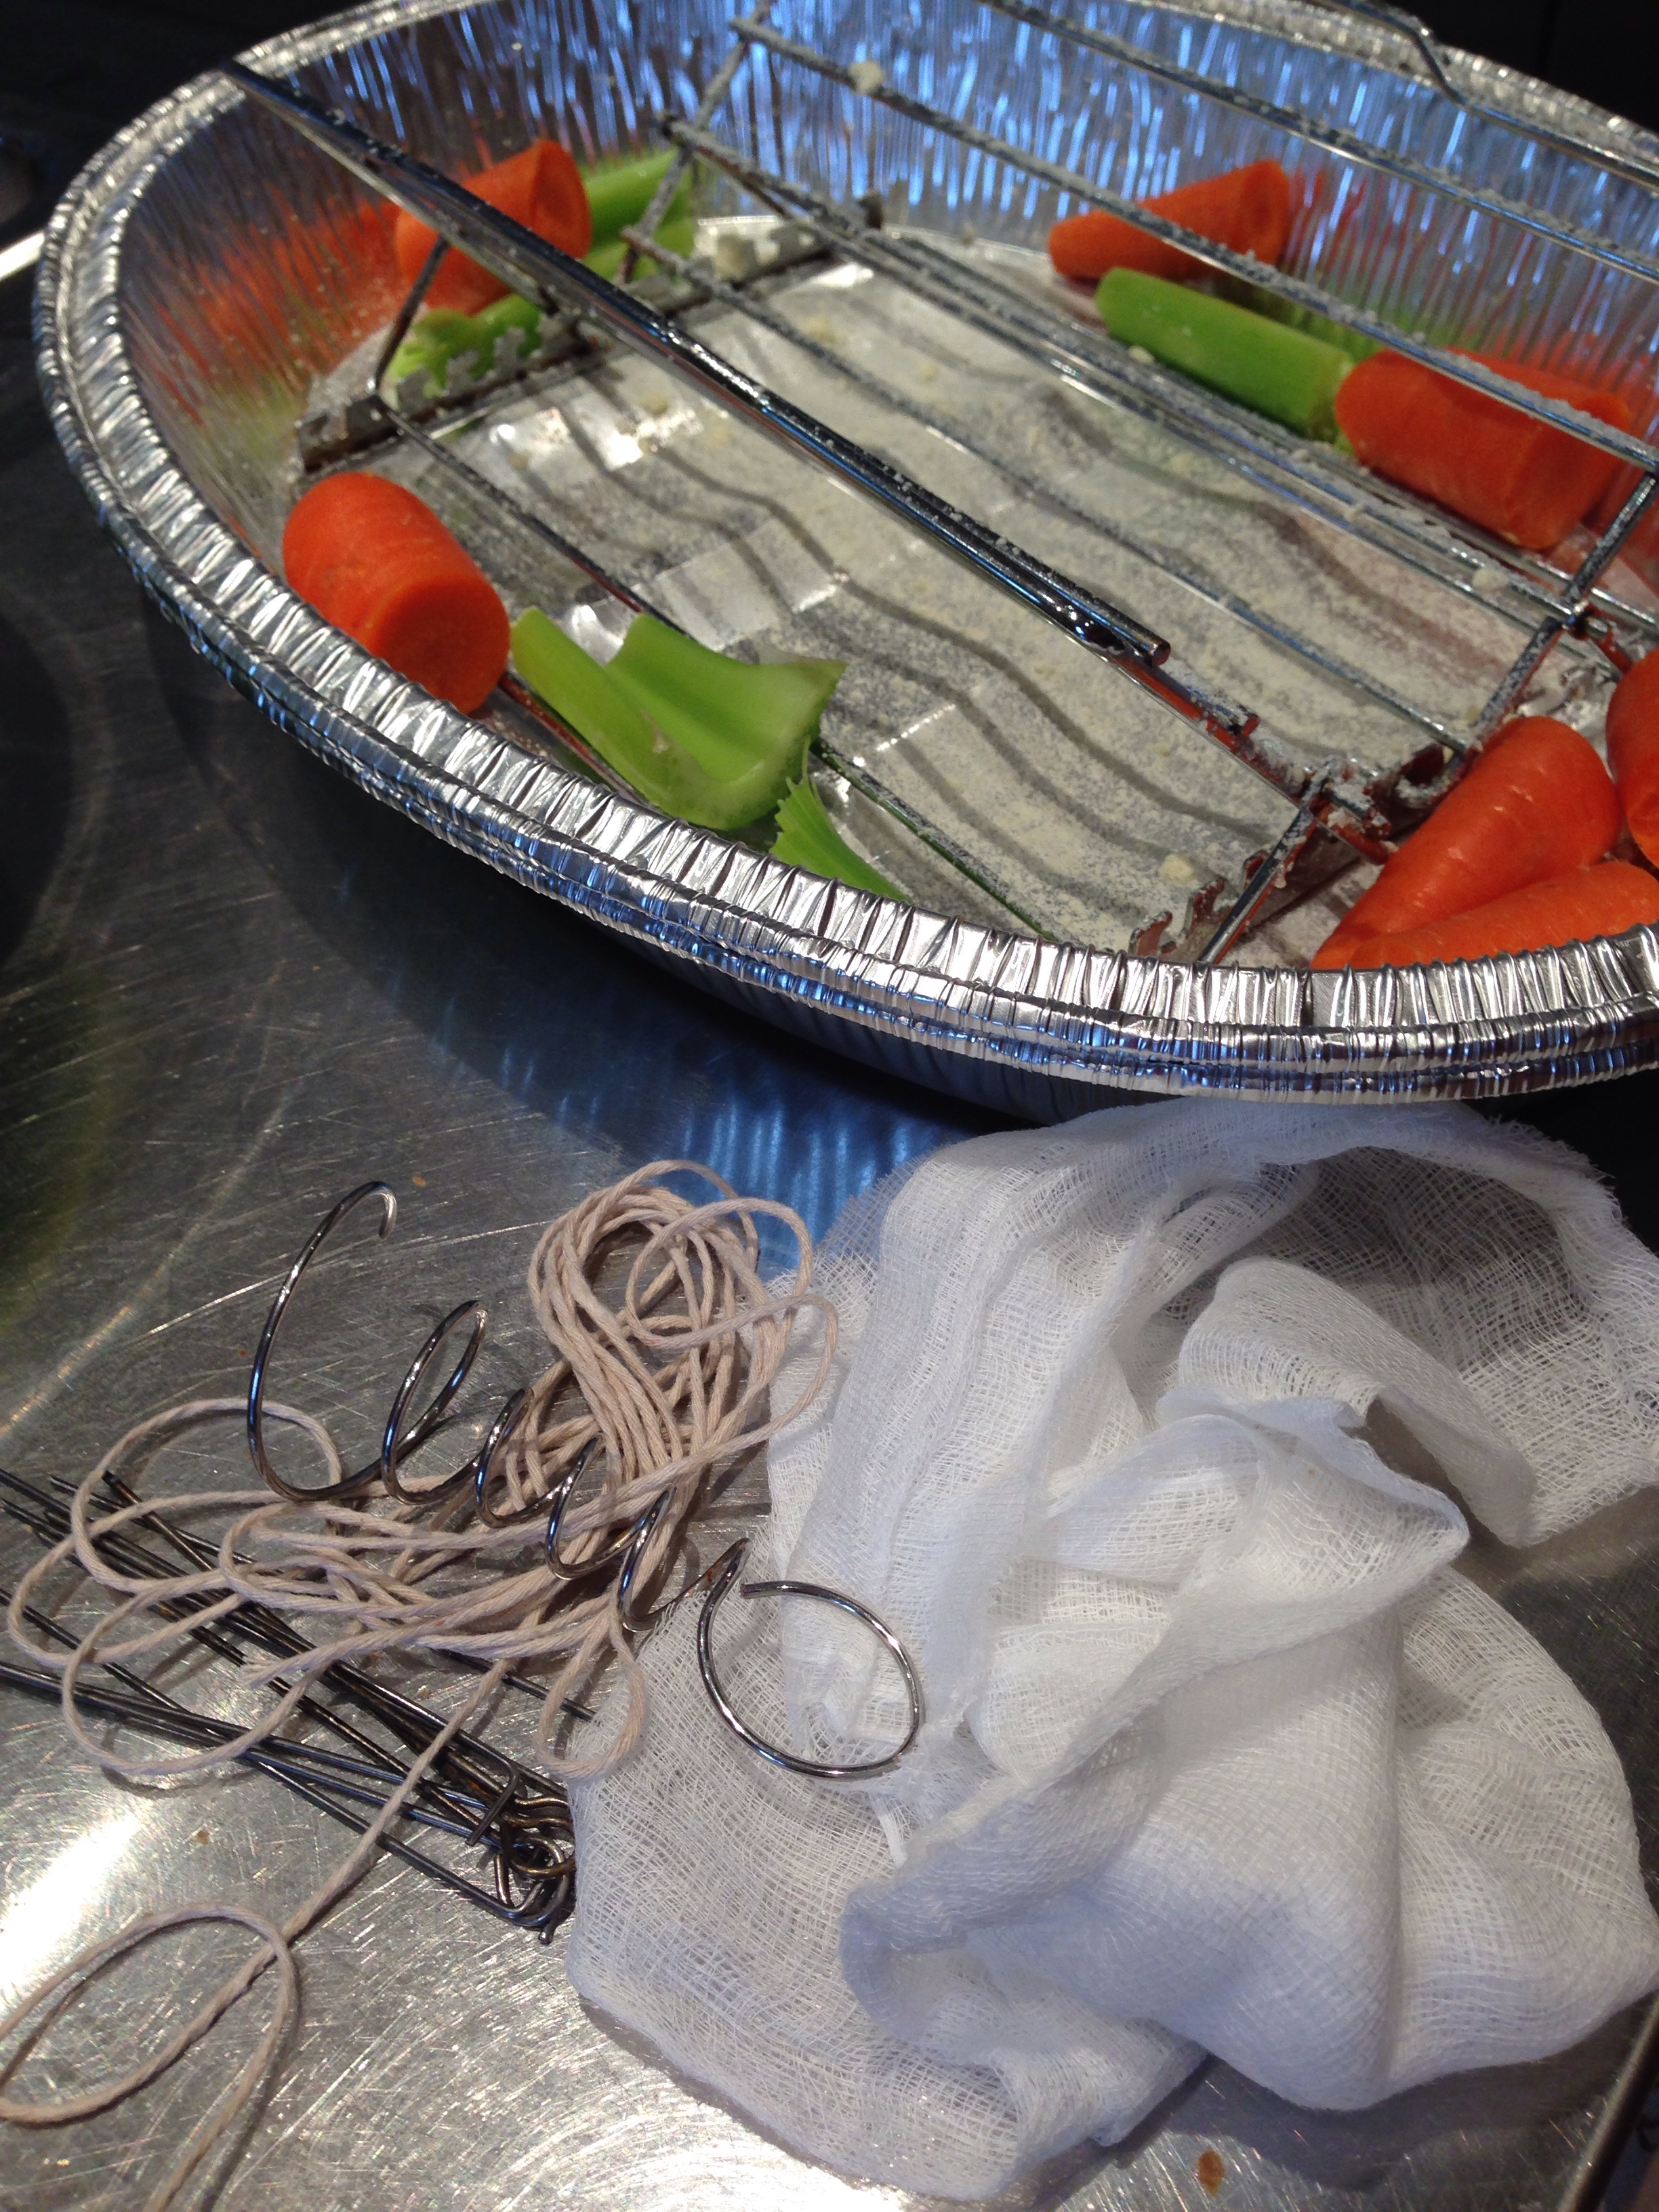
- A roasting pan and a V-shaped roasting rack
I purchase 2 disposable roasting aluminium pans; doubled up for strength (because who wants to wash more dishes or those huge roasting pans)
UPDATE: Review for Circulon® Roaster Pan Review and Giveaway
If you don’t have a roasting rack, chopped extra mirepoix or you can make your own by simply scrunching up a long piece of aluminium foil into a figure 8.
- A working meat thermometer I invested in The iGrill
- A baster or brush, preferably silicone
- Butcher’s string (cotton based food-grade approved) or Architec Stretch Hot Cooking Bands 2
- Cheesecloth, double thickness and size of the turkey’s breast
- Cooking Spray
- A carving set or electric knife, my husband’s new friend
- And a working oven 😉
This is the third post in My Best Thanksgiving Recipes, Tips and Tricks.
Check out My Best Stuffing for Thanksgiving Dinner and My Best Mashed Potatoes for Thanksgiving Dinner
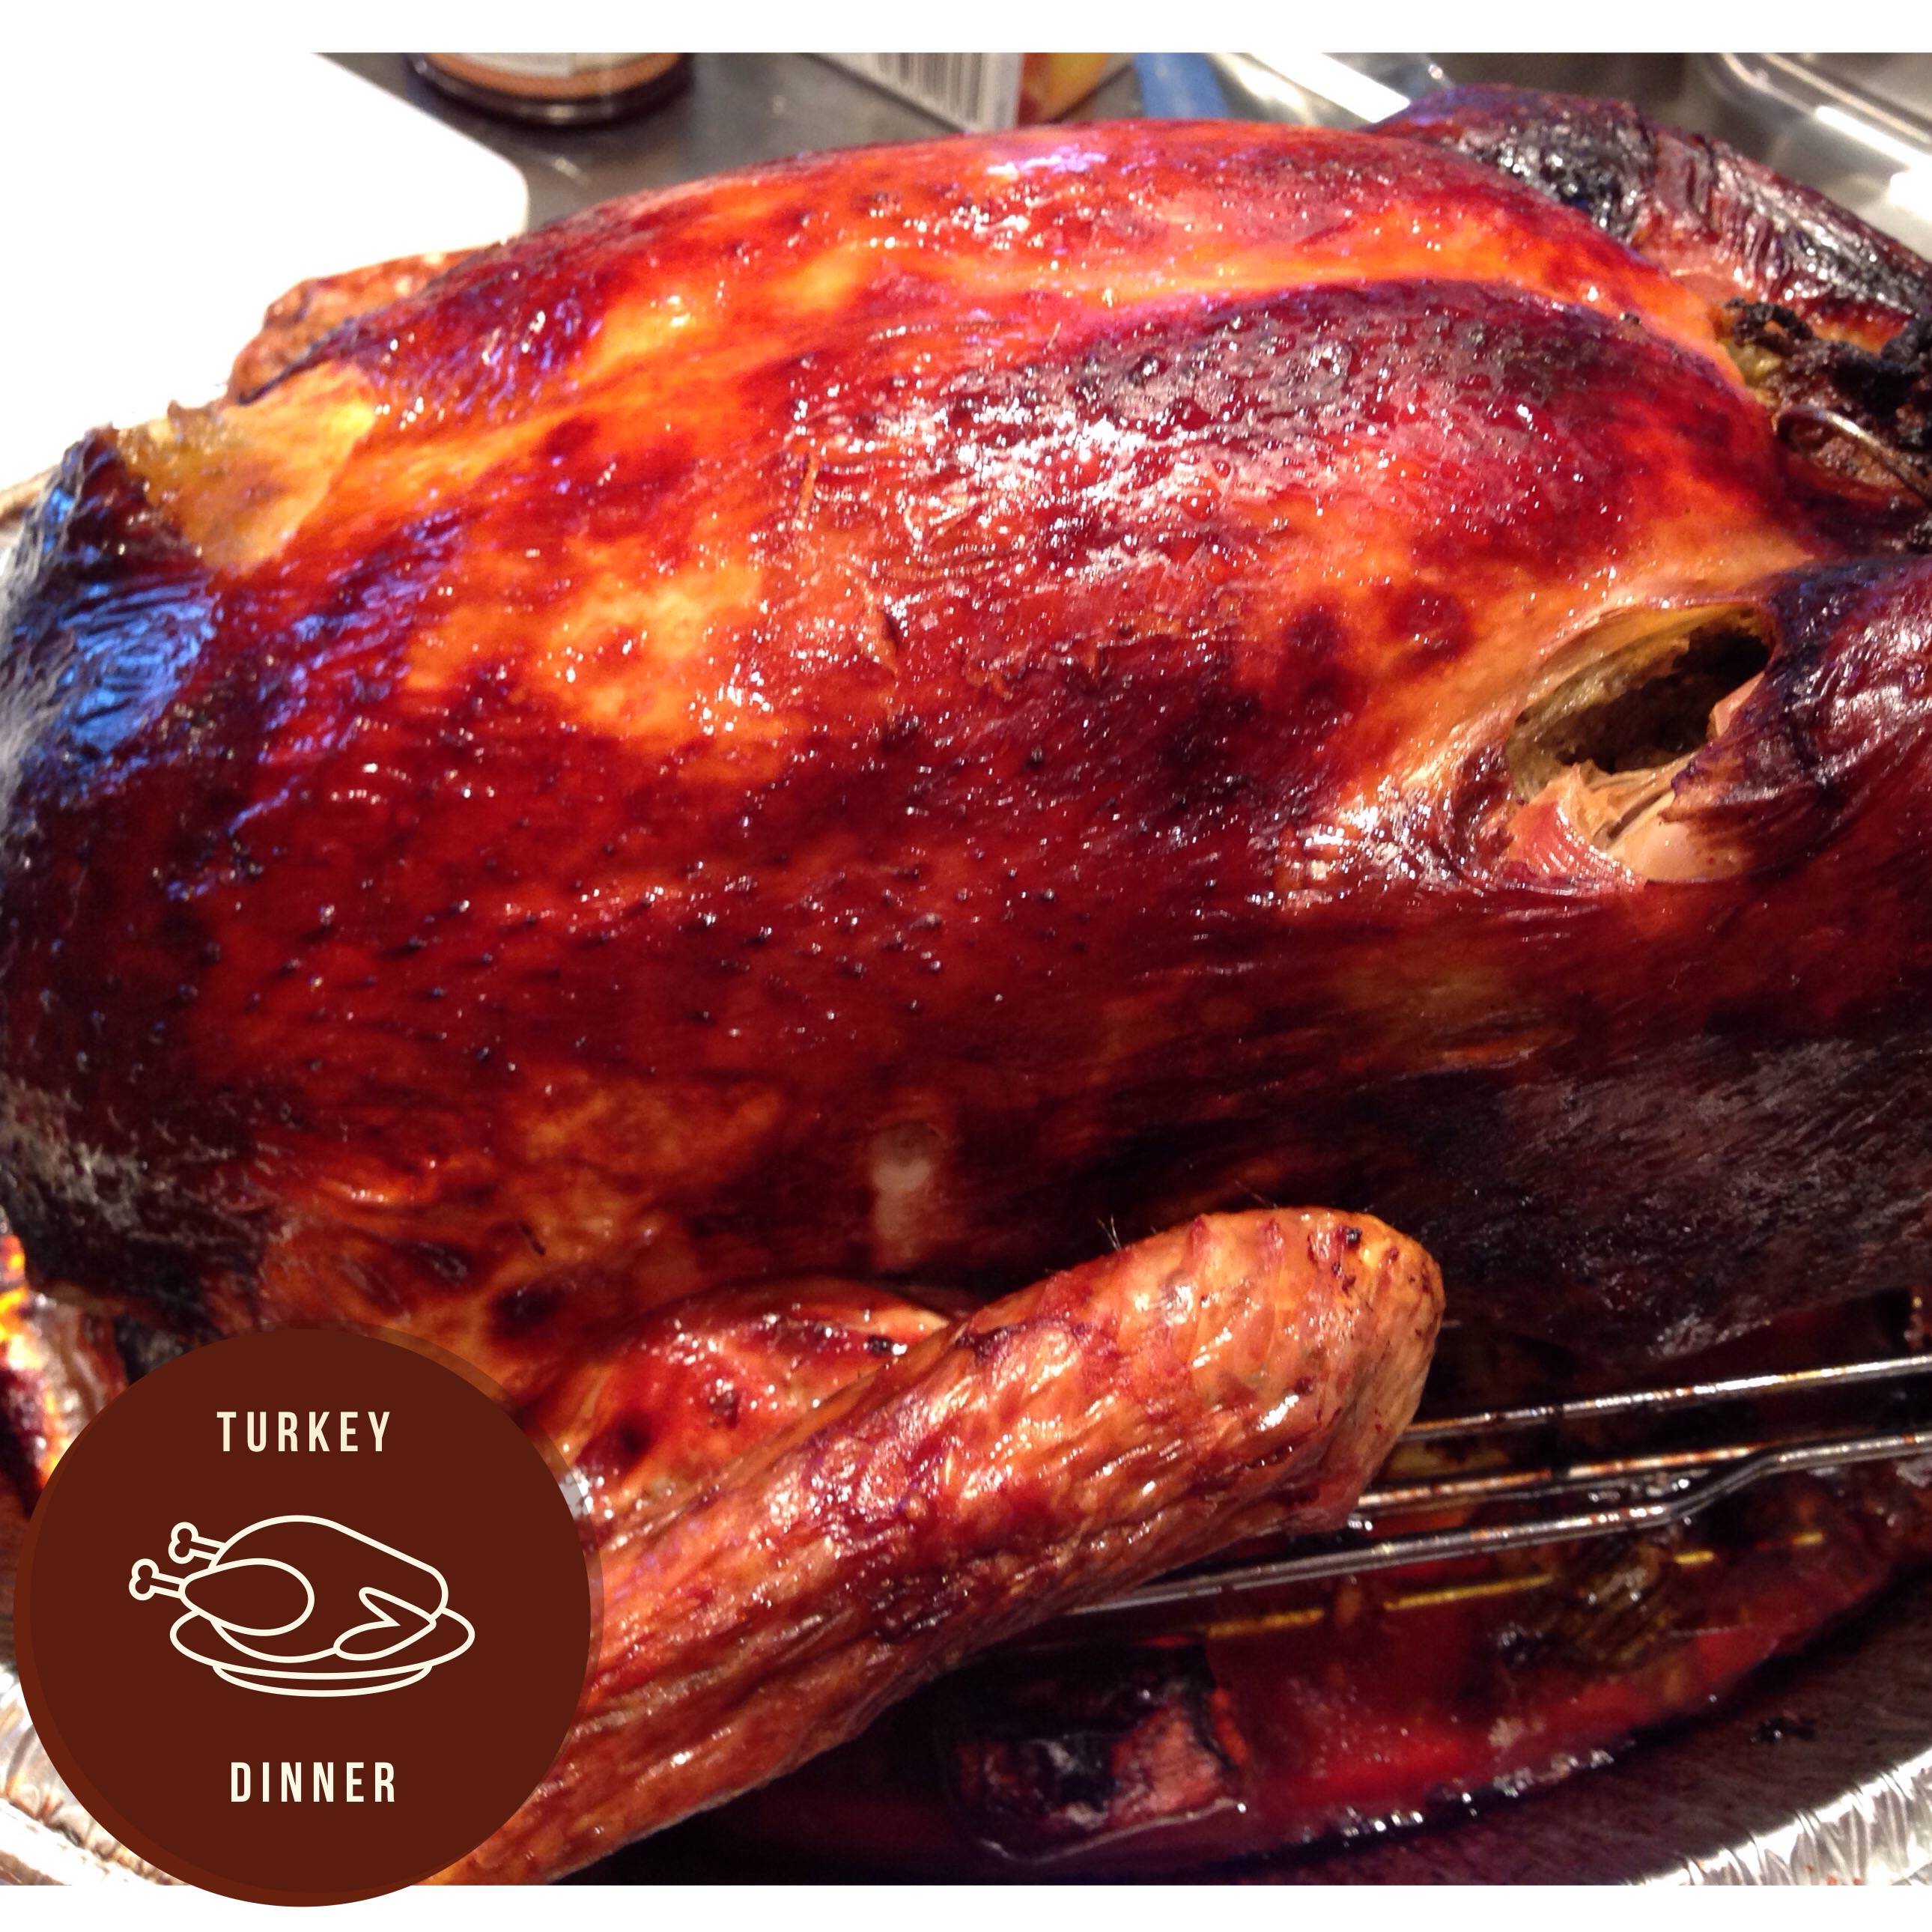
The Best Roast Turkey for Thanksgiving Dinner
Preheat Oven 450F Serves 6-8

Thanksgiving Dinner 2014
Mise En Place
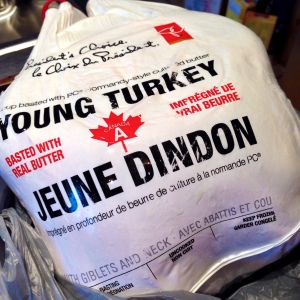
PC Young Turkey-frozen
- 1 16-18 lb. whole turkey, defrosted and at room temperature
- My Best Stuffing for Thanksgiving Dinner prepared and at room temperature
- 2 garlic cloves, peeled
- 1 medium onion, peeled and quartered
- 2 stalks celery, cleaned and chopped
- 2-3 carrots, peeled and chopped
- 1 cup butter, melted
- 1 cup white wine
- 1 box reduced-sodium chicken or turkey stock
Calculating your turkey’s cooking time. With my method of roasting a turkey, cooking time averages 20 minutes per pound for a stuffed turkey.
How to calculate cooking time: i.e. 16 lb. turkey X 20 min. per lb. = 320 min. divide by 60 min. in an hour = approx. 5 hours
please note if you have a convection oven the cooking time is 15min. per lb.
After you do the math, add some additional prep time 15 min. and that the turkey should rest at least 30 minutes before carving. The total turkey time has worked out for the above example 5 hours & 45 min.
So, if you want to have dinner at 6pm, aim to have the turkey out of the oven at 5pm and work backwards from there. This is the time the turkey needs to go in the oven.
Preparing the Turkey
Preheat your oven 450 F and take the turkey out of the fridge; let the turkey sit out at room temperature while the oven is heating up. Remember to remove extra oven racks and adjust the rack you are using so that turkey has plenty of space to roast.
Place your turkey on a large cookie surface and unwrap your turkey.
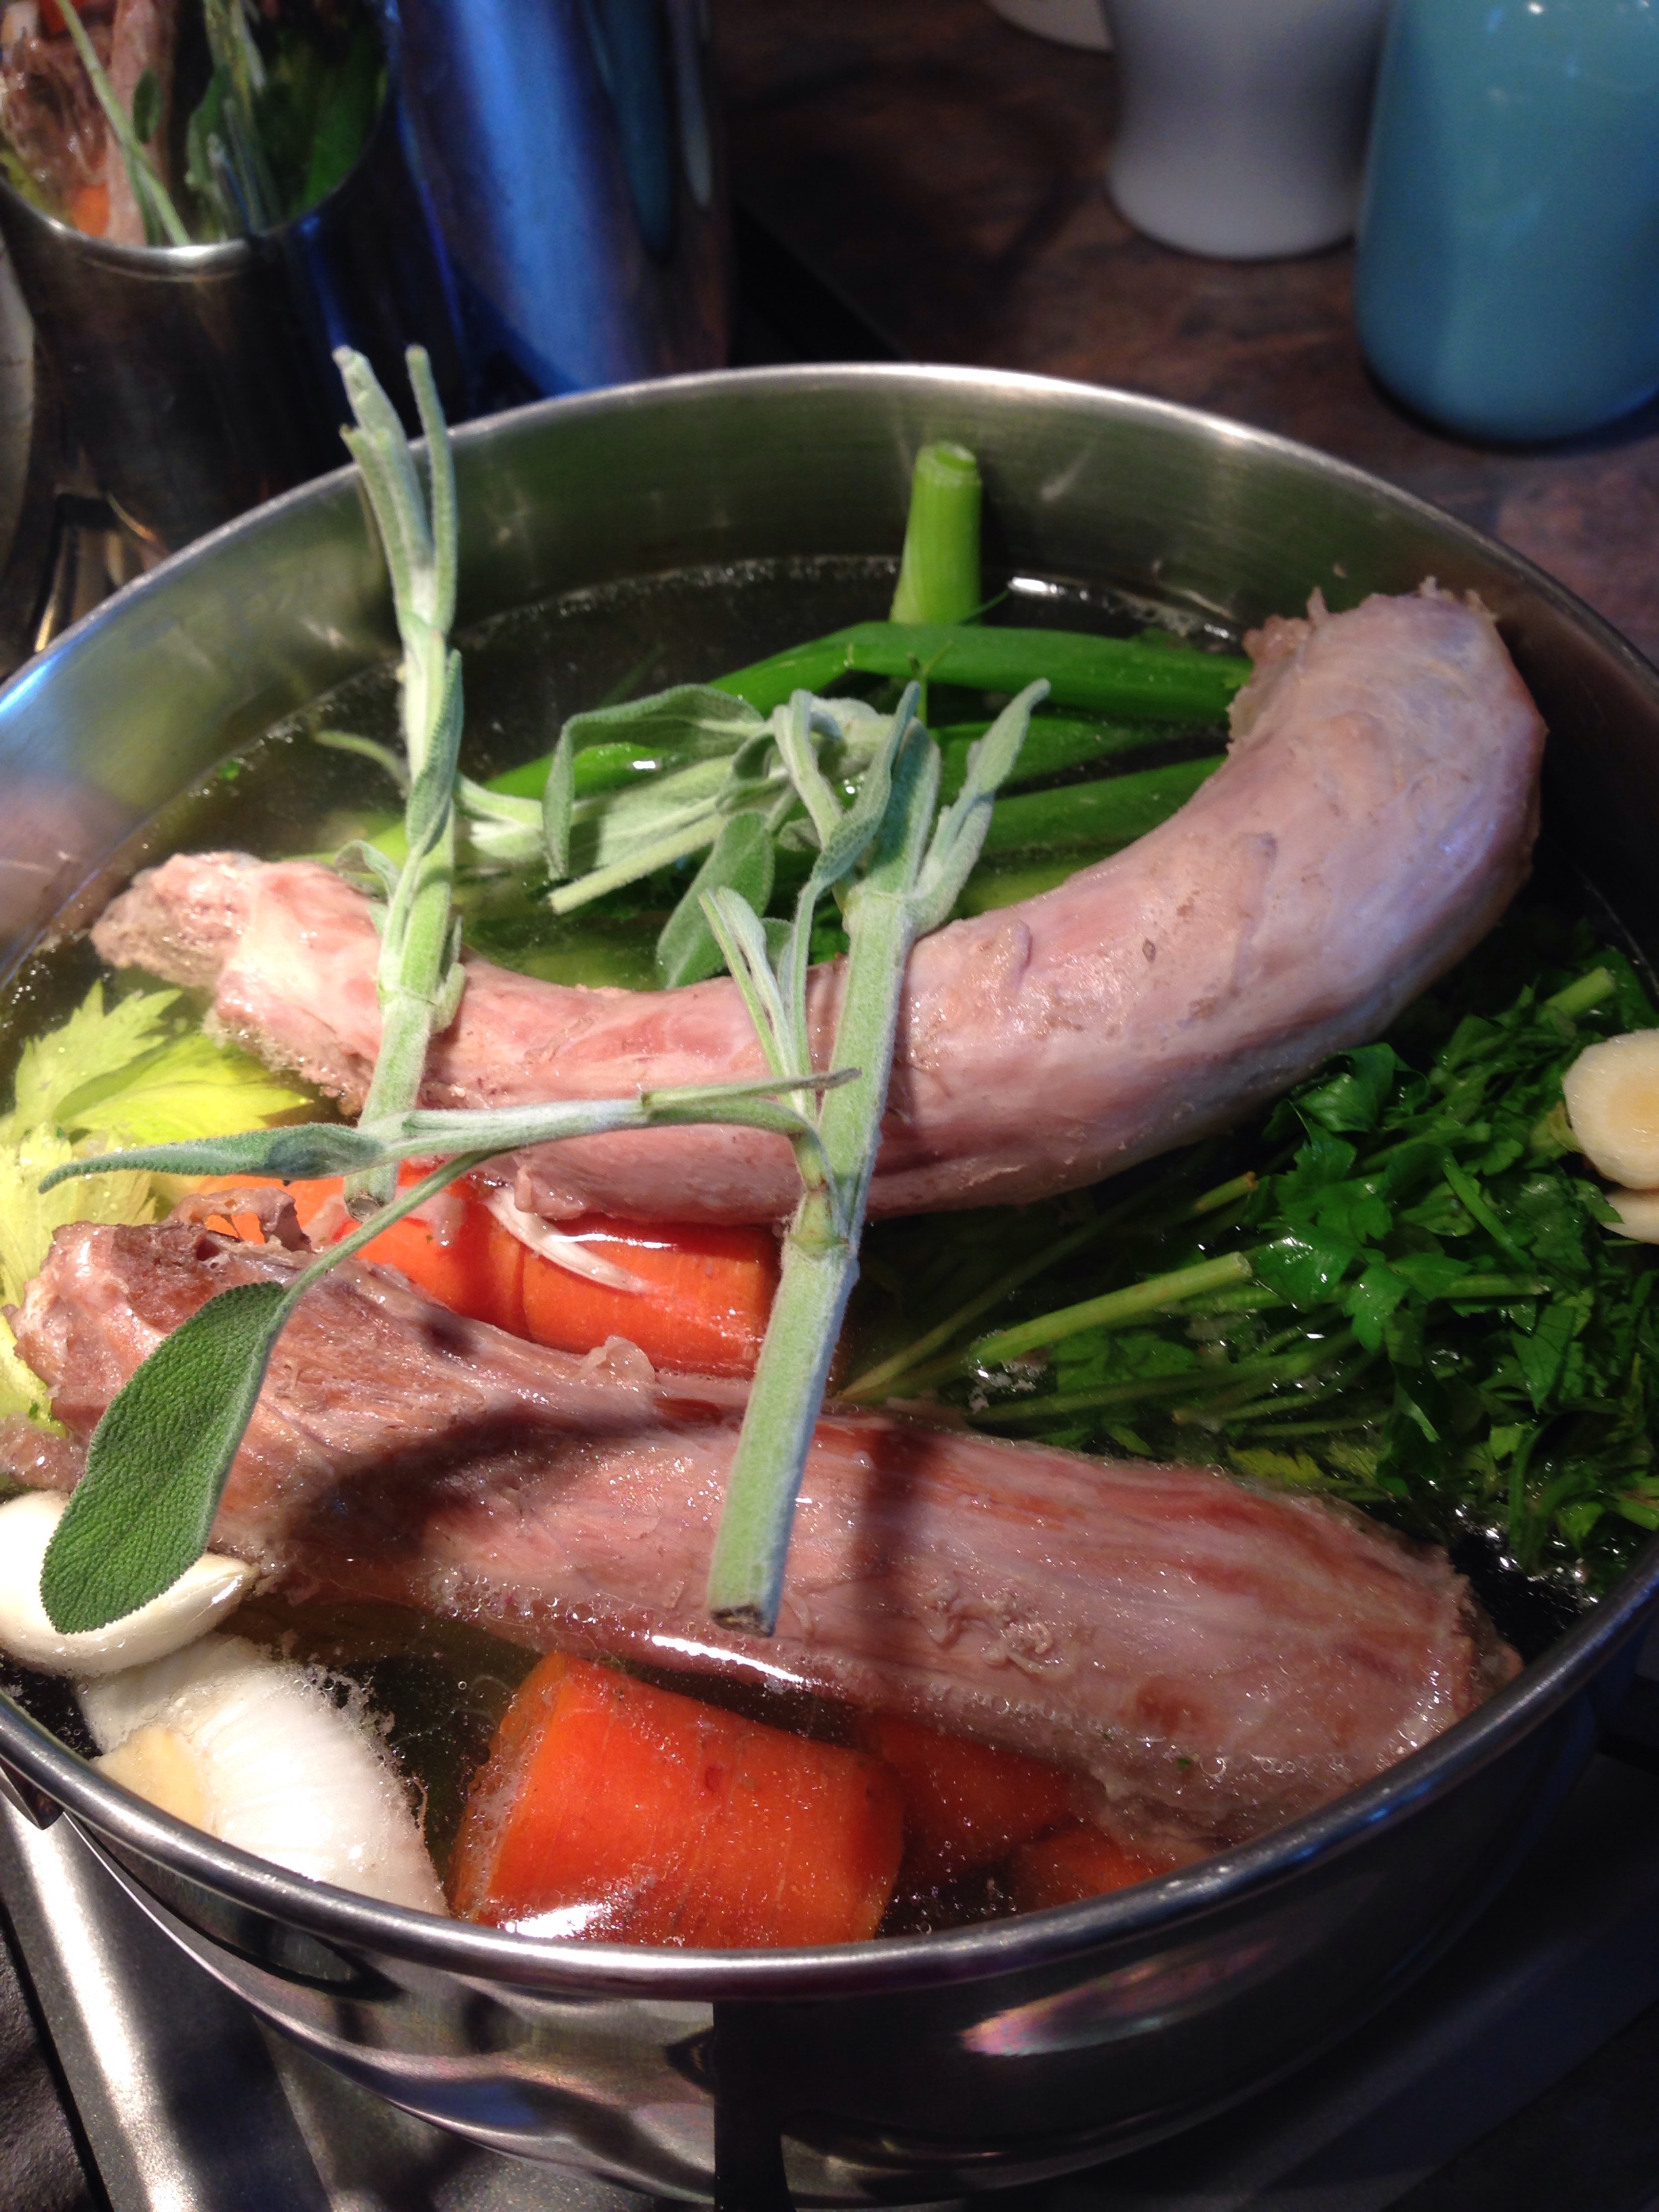
Reach into the cavity and take out the neck (it looks like a long curved piece of bone with some meat attached.) Place the neck in a medium size pot with the reserved vegetables from preparing the stuffing. (i.e. parsley stems, celery stalks and carrots) fill the pot with cold water and simmer.

Turkey Necks and Vegetables for Stock

Turkey Necks and Vegetables for Stock
Remove any plastic “thingy” holding the legs together. Discard.
Check inside of the neck cavity look for a little bag with the giblets (the heart, liver, etc.) sometimes you find this inside the main cavity. I just throw it away. Others will use the contents for giblet gravy.
Bend under the wing tips and now it is time to stuff the turkey with My Best Stuffing for Thanksgiving Dinner.

Stuffing Ready for Turkey

Stuffing the Body Cavity of Turkey

Stuffed and Trussed Turkey ready for Oven

Stuffed and Trussed Turkey ready for Oven

Stuffed and Trussed Turkey ready for Oven
Trussing, or tying up the turkey into a more compact package, make sure that the breast and thighs cook to the right temperature. The white meat won’t overcook while the dark meat is still cooking. Truss using butcher’s twine or just tie the legs or use the silicone elastic bands.

Mise En Place for Turkey for Thanksgiving Dinner
Spray the disposable roasting pan and V-shaped roasting rack liberally with cooking spray. And place your stuffed turkey on the rack and into the prepared roasting pan with 2 peeled garlic cloves, 1 onion quartered, 2 stalks of celery chopped, 2-3 peeled and chopped carrots to flavour the drippings.
One of my tricks is that I think to make for juicy breast meat, is to start the turkey breast down and roast for about 20 minutes at 450 F until slightly golden in colour. Then flip the turkey to breast side up for another 20 minutes at 450 F.

Breast Side UP after 20 min at 425F

Breast Side DOWN after 20 min at 425F

Turkey Ready for Oven Covered with Cheesecloth

Chicken Stock, white wine, melted butter and cheesecloth for Turkey
Remove the turkey from the oven. Prepare the 1 cup of melted butter, 1 cup white wine and ½ cup of stock in a glass measuring cup. Dip the cheesecloth in the liquid, saturate and place on turkey’s breast.
The second trick is the cheesecloth protects the breast from getting too brown and dried out.
Add ½ cup of chicken or turkey stock to the roasting pan.
Turn the oven down to 325 F. Place the cheesecloth-covered turkey back in the oven.
Roast and baste.
Baste the turkey including the cheesecloth with the wine, stock and butter mixture. And with some of the delicious juices that are gathering at the bottom of the roasting pan. The cheesecloth will get brown, no worries.
Continue to baste.
Start checking the temperature 30-45 minutes before your calculated time just to be sure since every oven is different. Cook until a thermometer inserted into the thickest part of the thigh registers 165F. The temperature of the breast should be around 155F.

iGrill Device

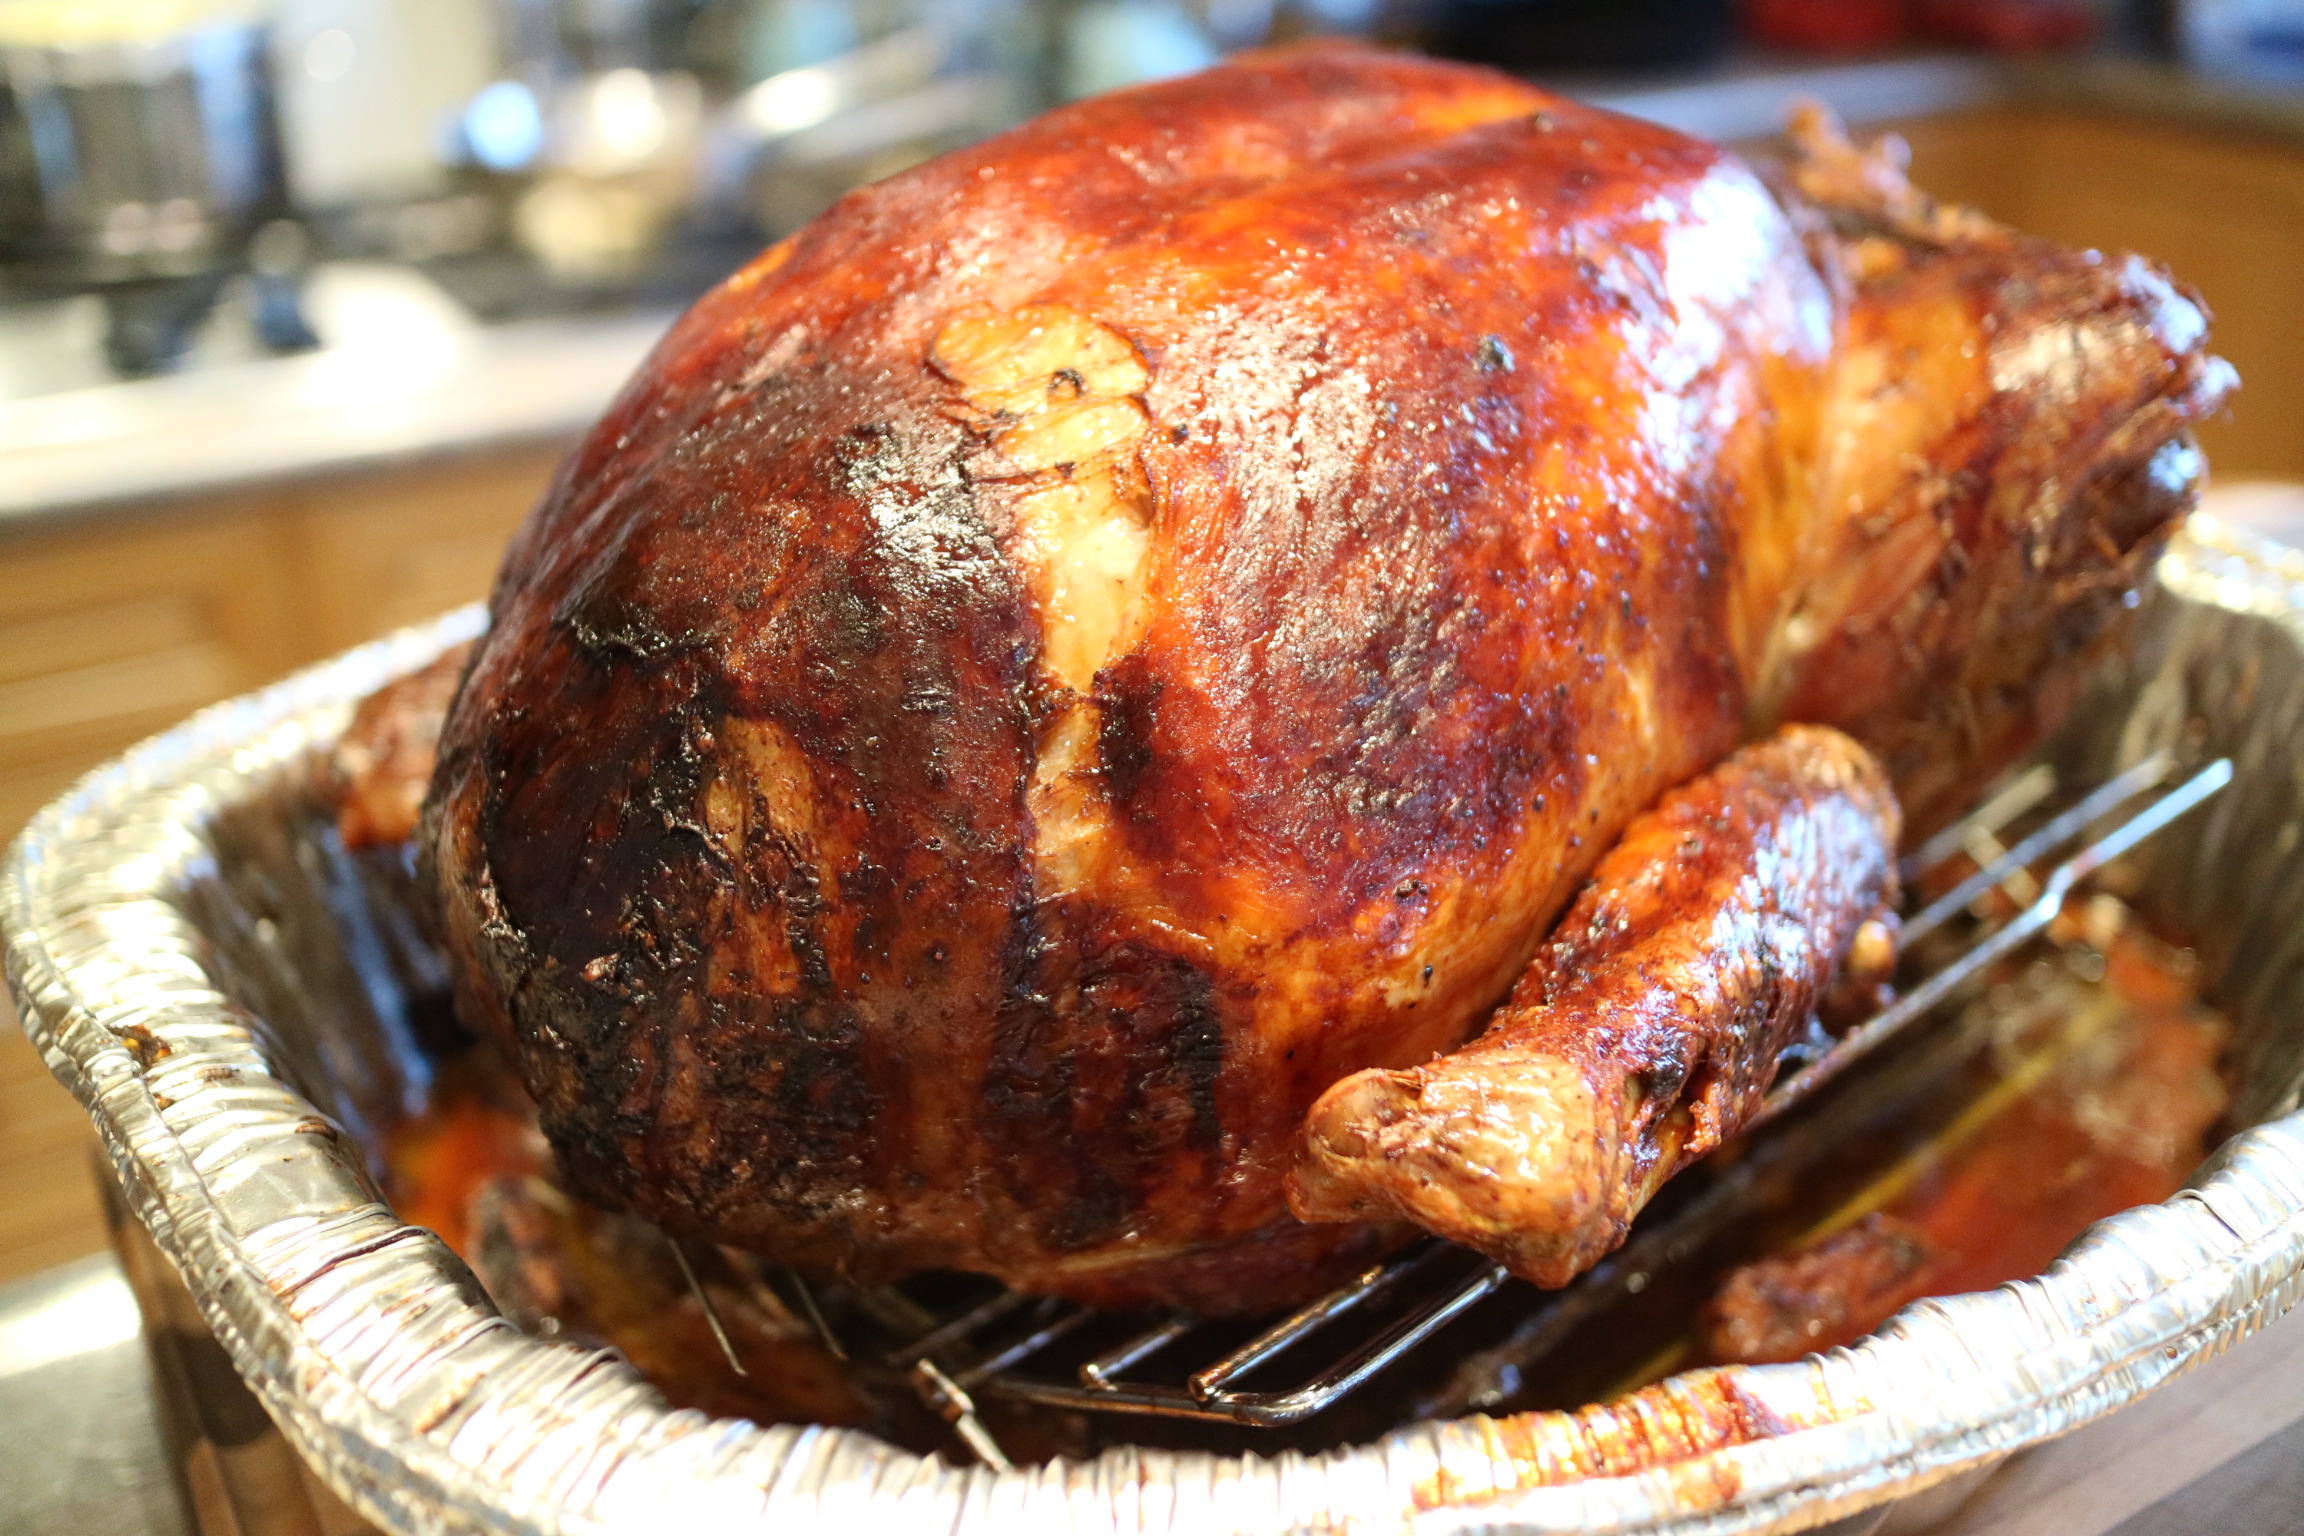
Roasted Turkey with Cheesecloth removed
Remove turkey from the oven and place on carving board and/or clean-rimmed cookie sheet. Baste the turkey with drippings to help moisten the cheesecloth before trying to remove it from the skin of the turkey. Cover loosely with aluminium foil and rest at least for 30 minutes even up to an hour. Resting any meat such as a turkey or even a roast beef that has been cooking for a long time redistribute the juices themselves back into the meat. Don’t worry; this large piece of meat will not get cold.

How to Roast Turkey for Thanksgiving

Roast Turkey

Roast Turkey
While the turkey is resting, is the perfect opportunity to prepare the gravy using the pan drippings, reserved starchy potato water and simmering stock.
My Best Turkey Gravy for Thanksgiving Dinner. Stay Tuned!
Carve the turkey by removing the legs and breasts of the bird. Once the breast meat is cut off the bones, cut into slices. Cut the thigh meat off of the bones.

Thanksgiving Turkey 2014

Roast Turkey 2017
Roast Turkey for Thanksgiving 2017
Thanksgiving Dinner 2014

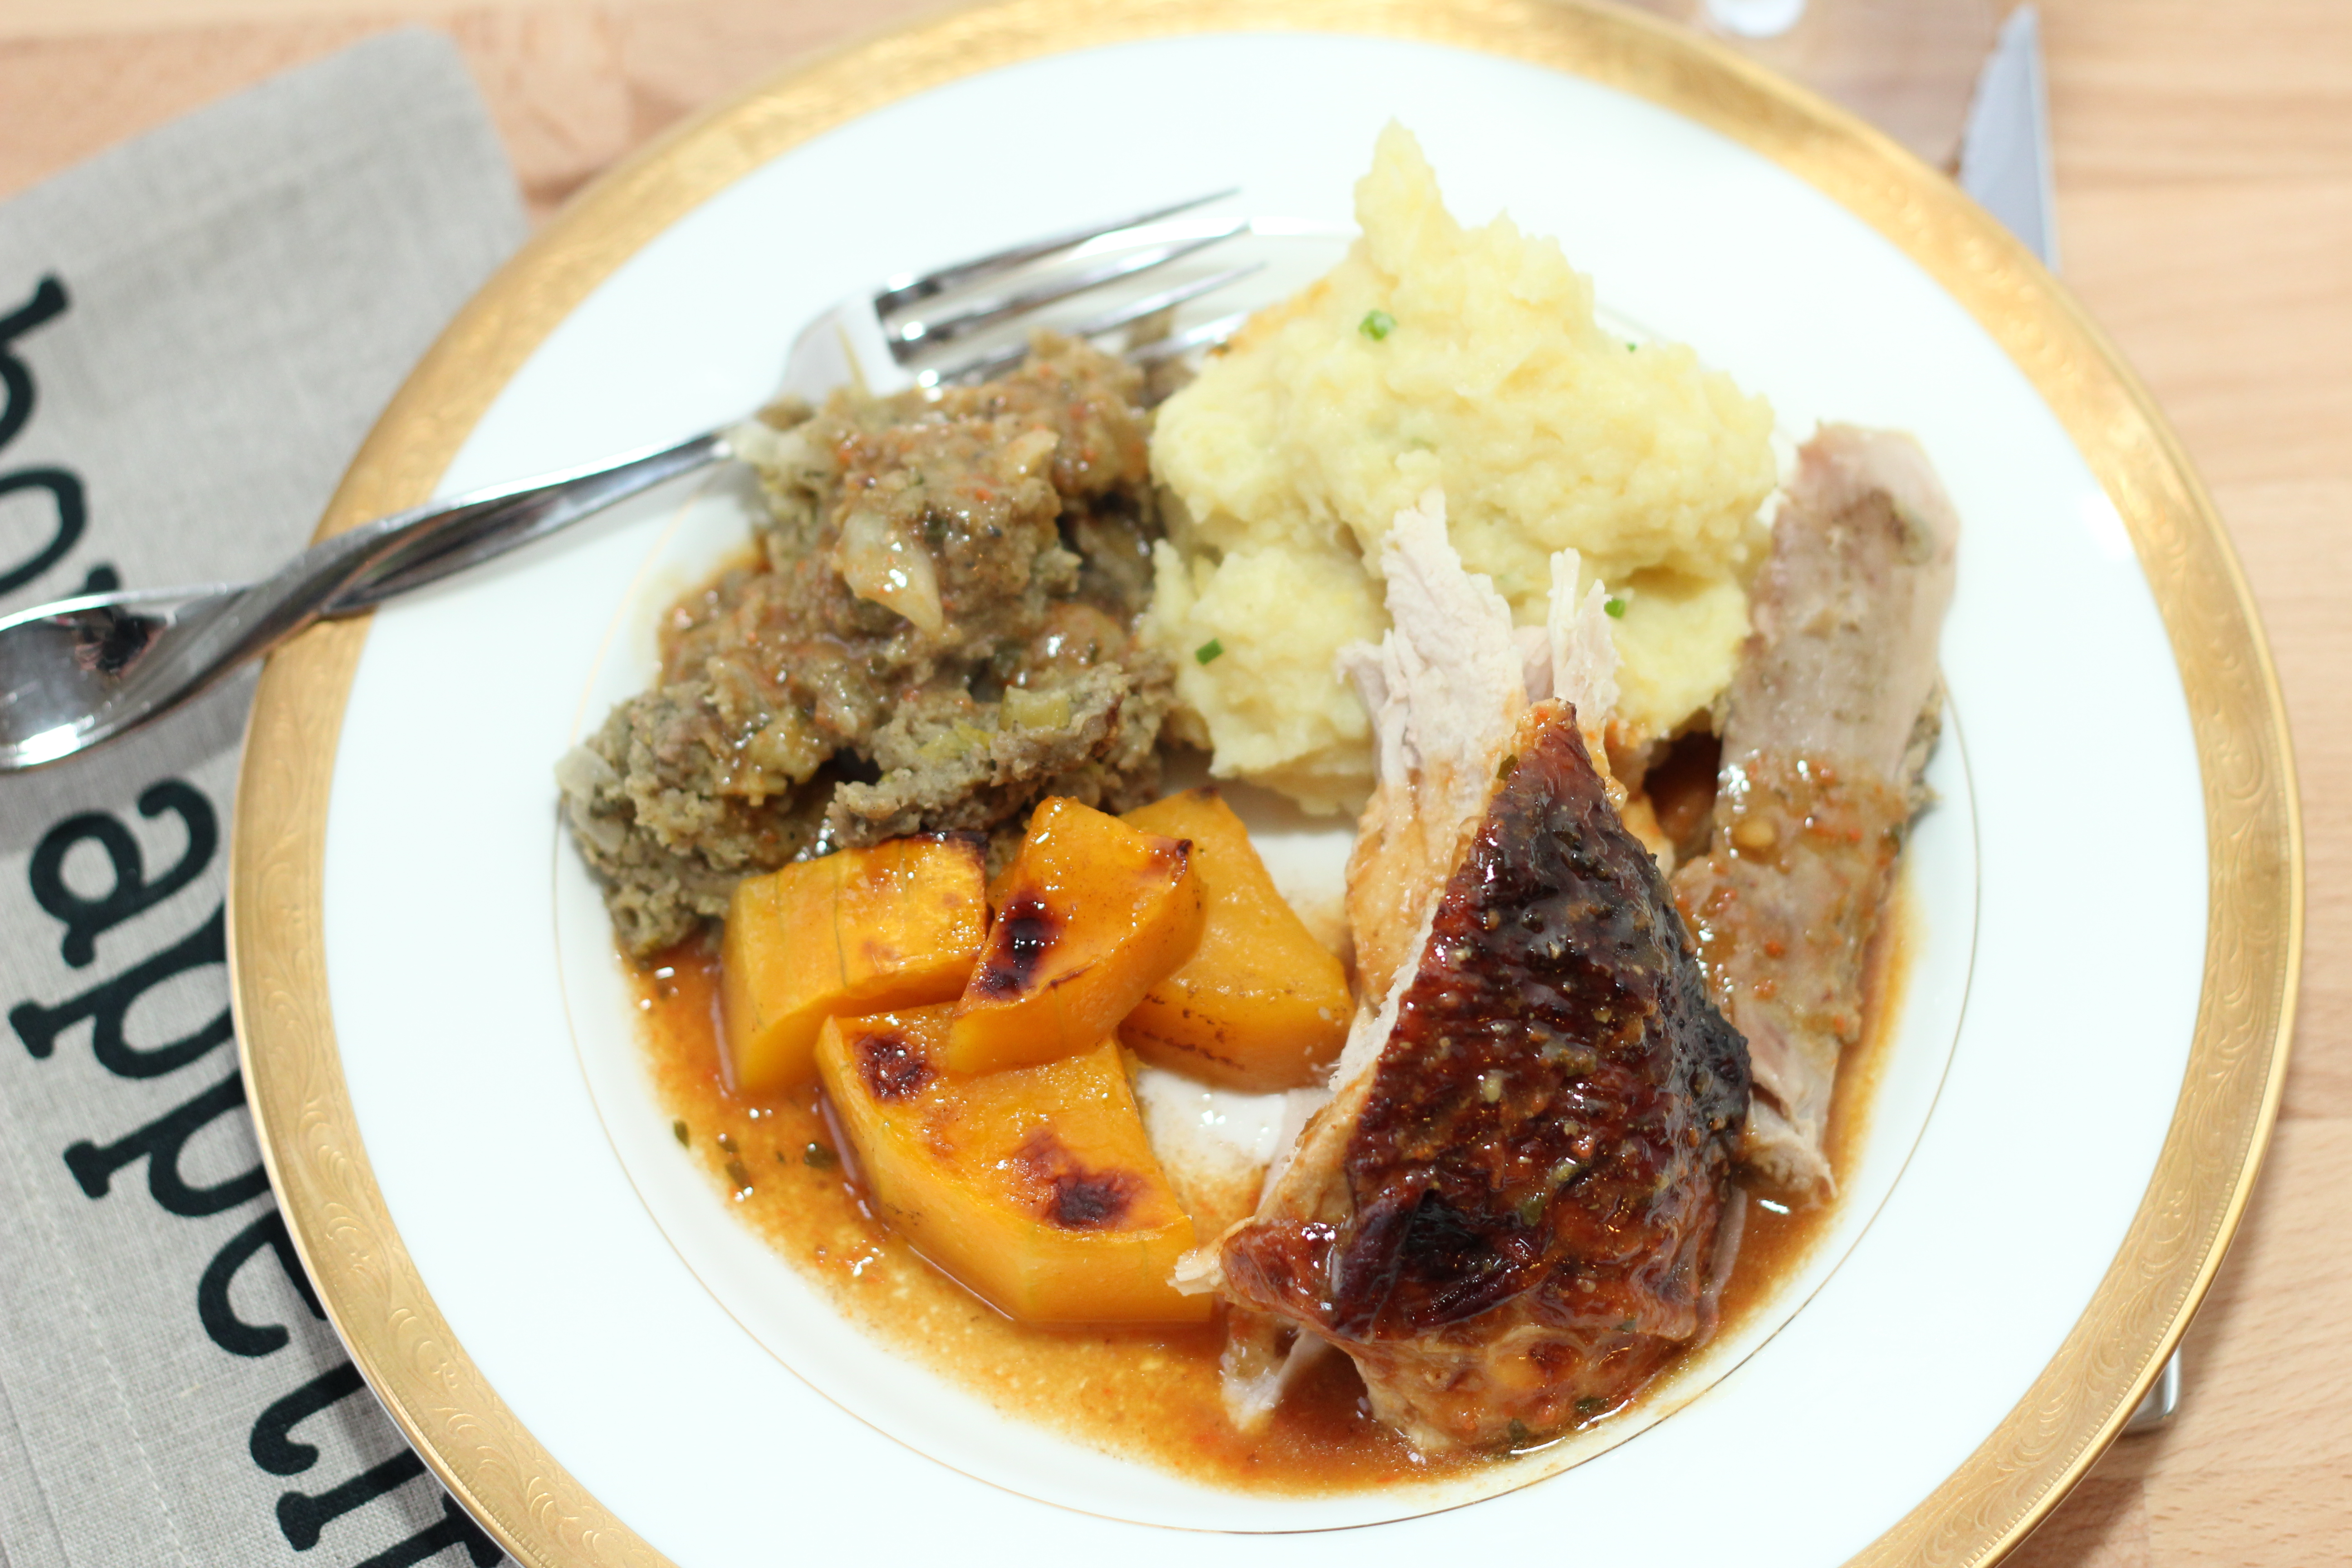
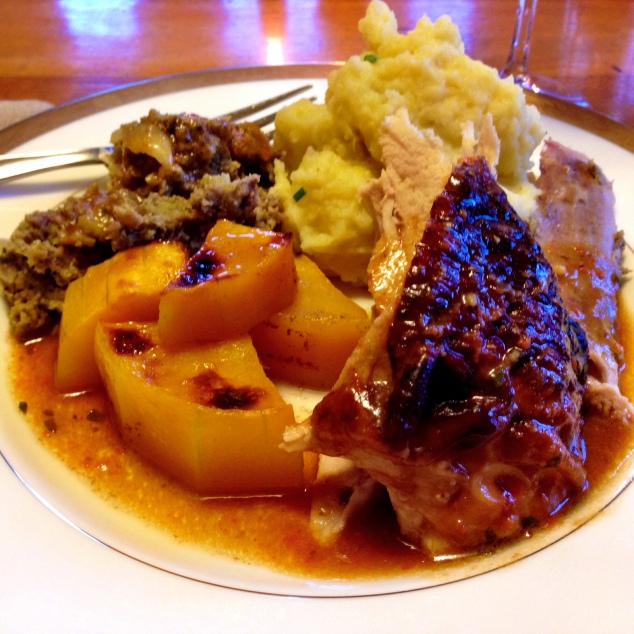
My Thanksgiving Dinner Plate for 2017