Moroccan Roasted Vegetable and Pork Tenderloin Stew

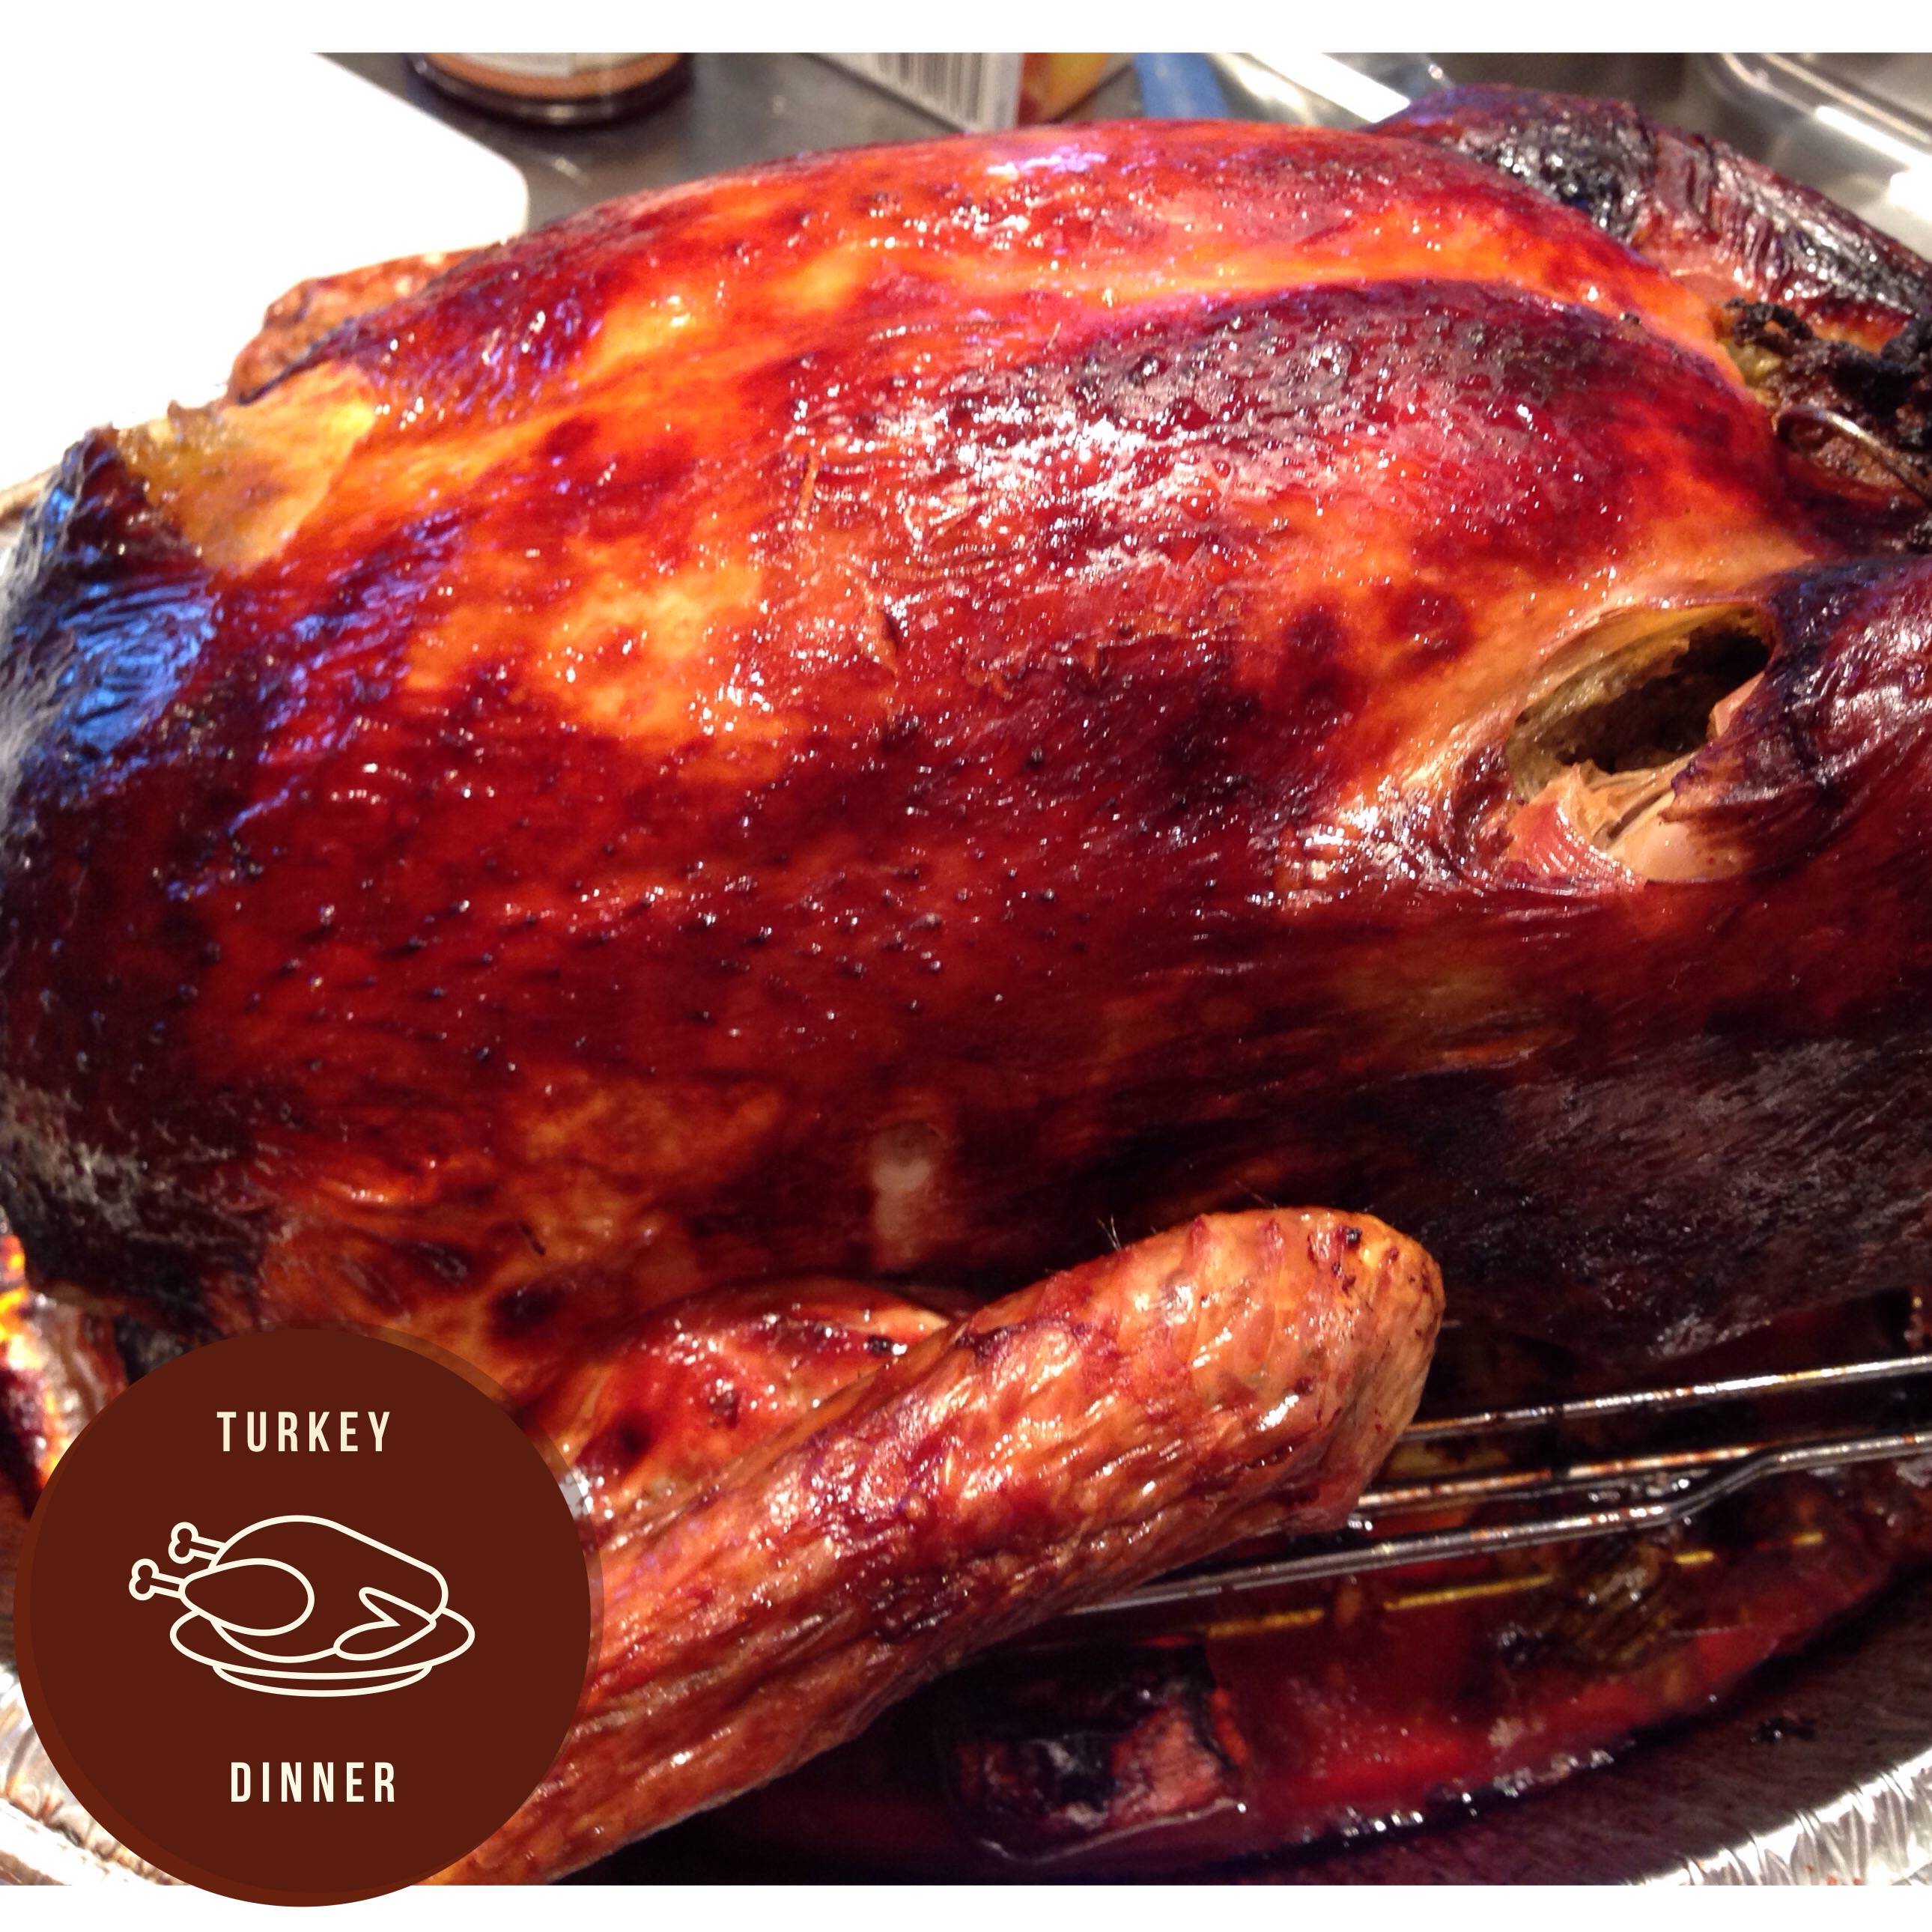
If you are a regular subscriber to the 5 o’clock rush, you will know that my recipes or daily dinners are made up on the fly around the witching hour of 4pm. This Moroccan Roasted Vegetable Stew is no exception. On the Sunday night, I roasted 2 pork tenderloins with 2 different spice blends to be made into a recipe for our upcoming busy week. Not knowing what I would use them for, one tenderloin was coated with a Harissa spice blend that has red chilli flakes, garlic, cumin, caraway, coriander and spearmint. And the other tenderloin was coated with Greek or “souvlaki” style spices.

On the Monday, fall had arrived in southern Ontario and a warm home cooked comfort dinner for the crisp weather outside was in order. This is where the spicy pork tenderloin evolved into a delicious and super easy Moroccan stew.

Roasting all the vegetables in the oven separating before incorporating them into the stew will develop a rich flavourful stew. And covering the sheet pans with aluminum foil will help eliminate the dishes. 😉

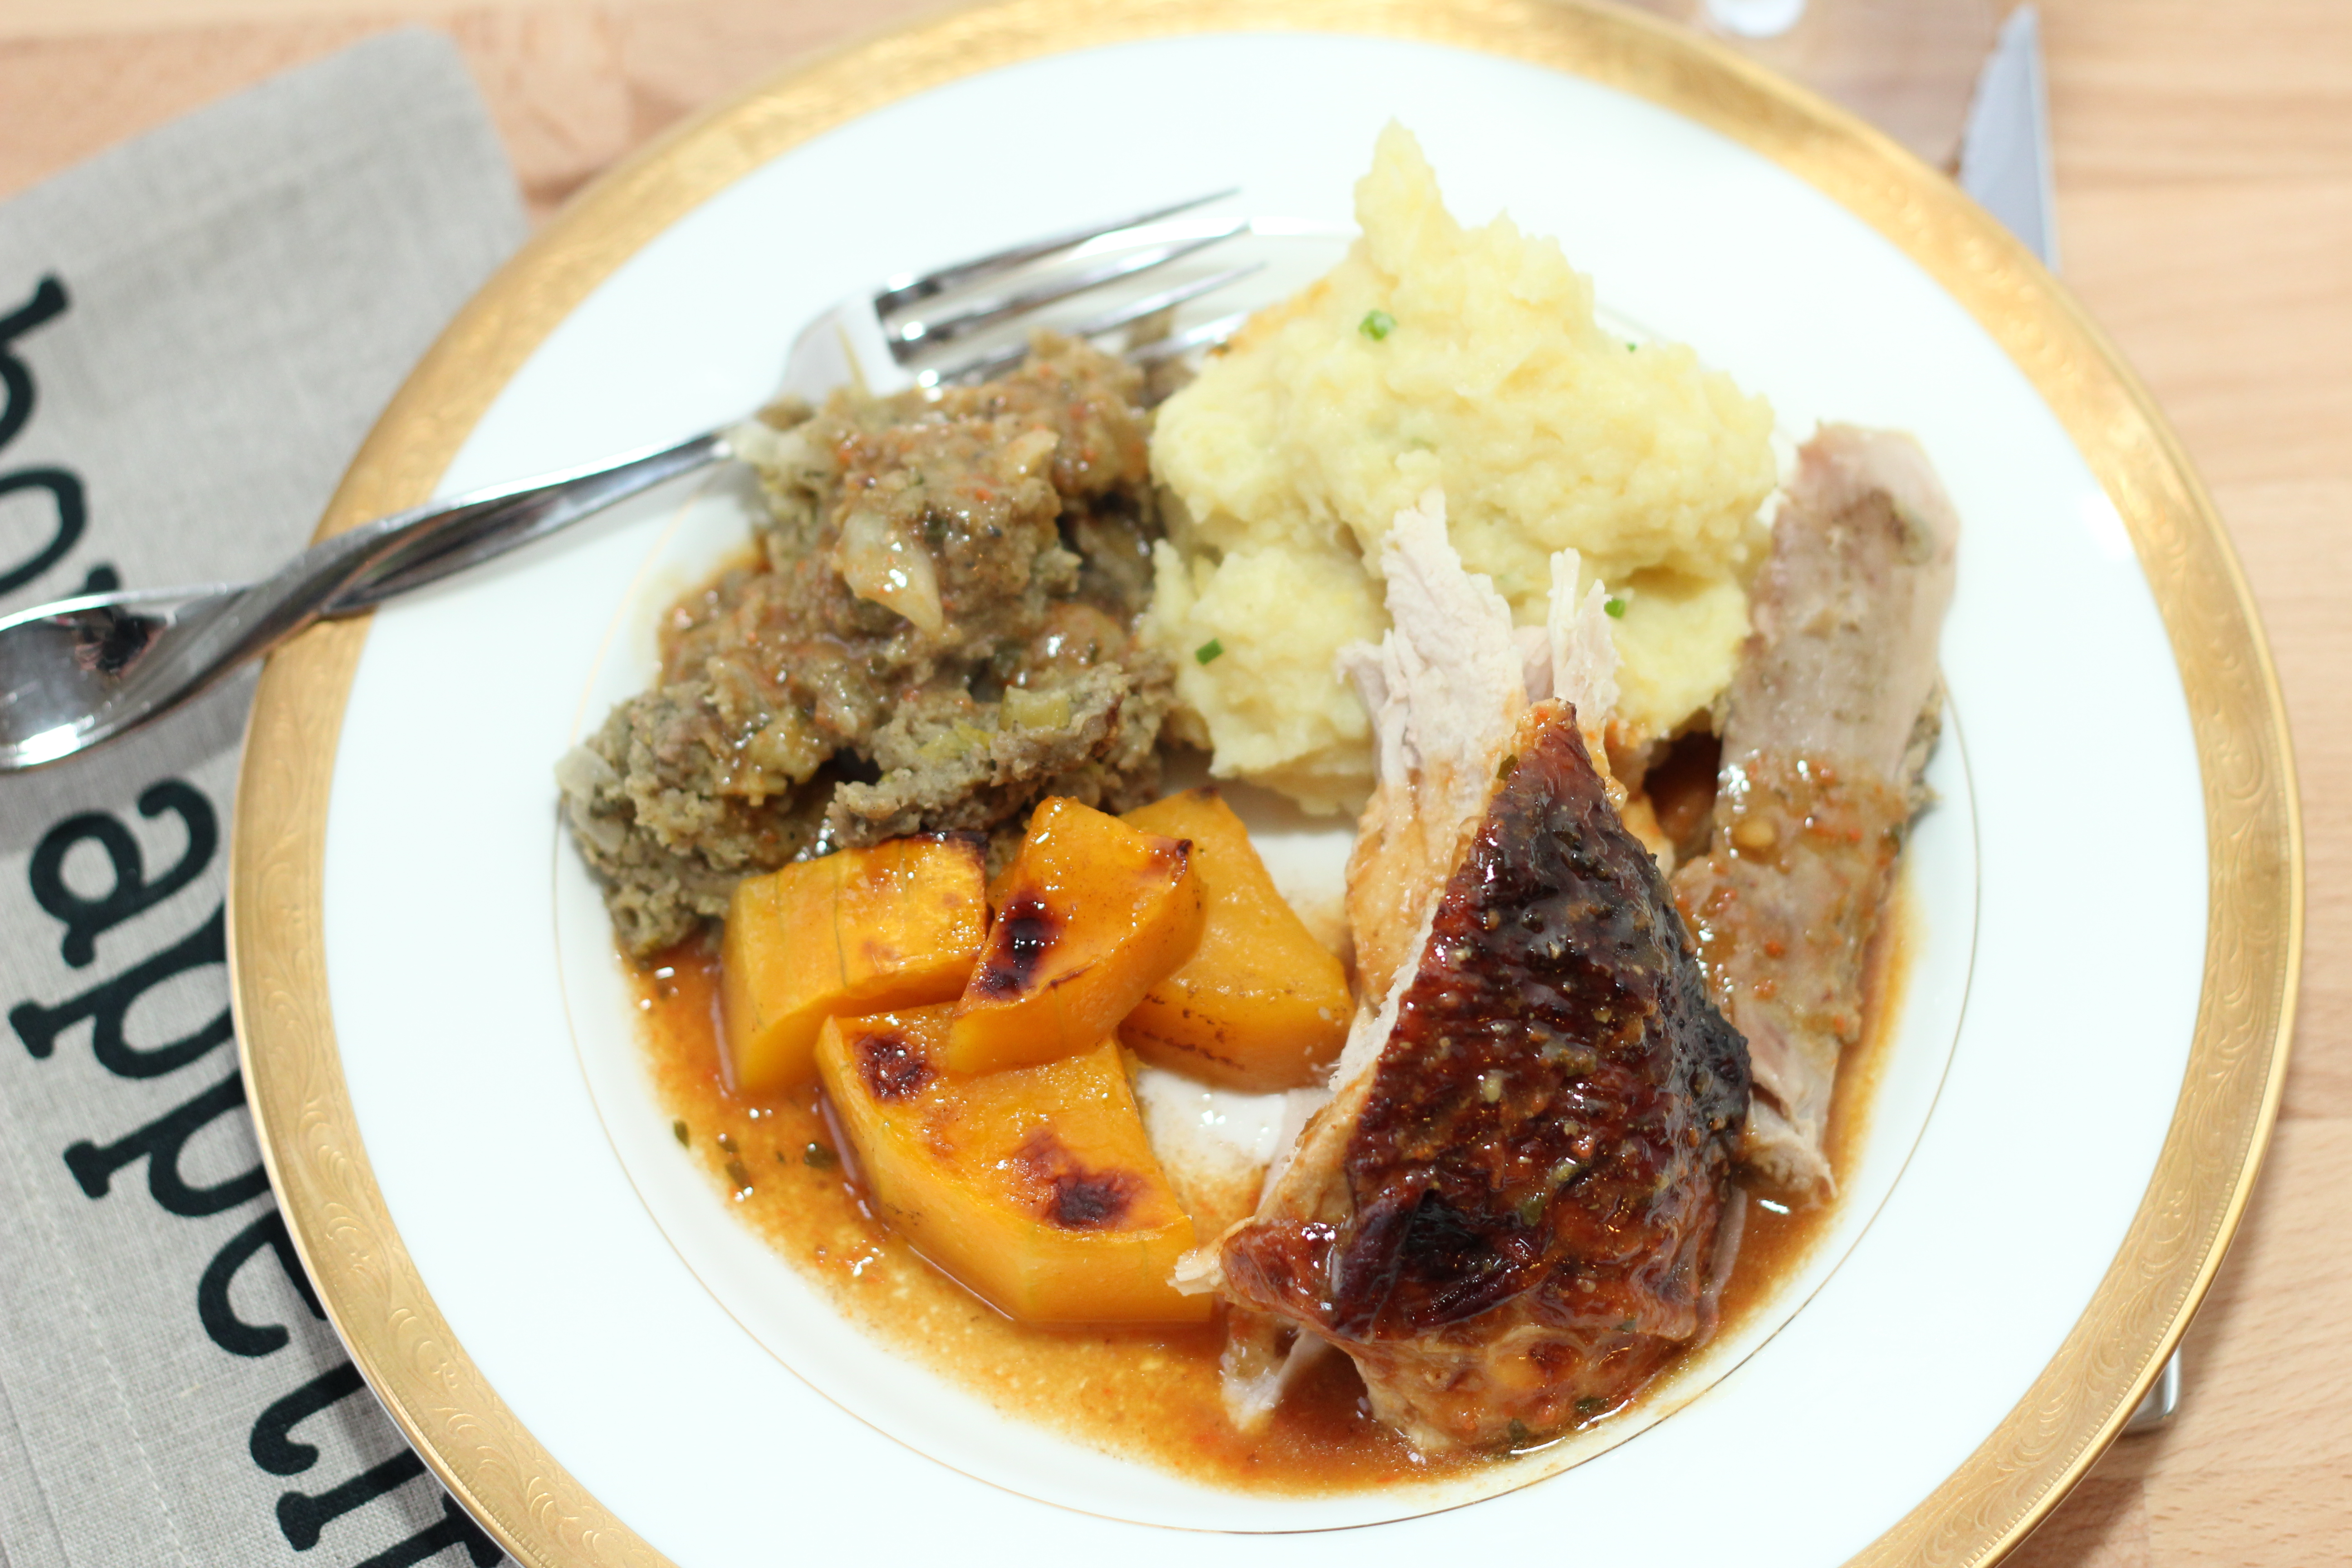
For our dinner I served the Moroccan Roasted Vegetable and Pork Tenderloin Stew over organic quinoa and steamed spinach. It was a hit with the famjam even my 13 yr. old son who is extremely picky. I also sent some leftovers to a friend for her workday lunch and it received raves reviews.

Follow my Instagram @the5oclockrush to see my daily dinners photos.

Moroccan Roasted Vegetable and Pork Tenderloin Stew

Moroccan Roasted Vegetable And Pork Tenderloin Stew

Moroccan Roasted Vegetable And Pork Tenderloin Stew

Serves 5-6

Mise En Place

  • 1 pork tenderloin, cleaned
  • PC™Harissa Moroccan Spice Blend
  • Olive oil
Roasted Vegetables
  • 4 cloves garlic, peeled
  • 3 sweet potatoes, peeled, chopped into 1-inch cubes
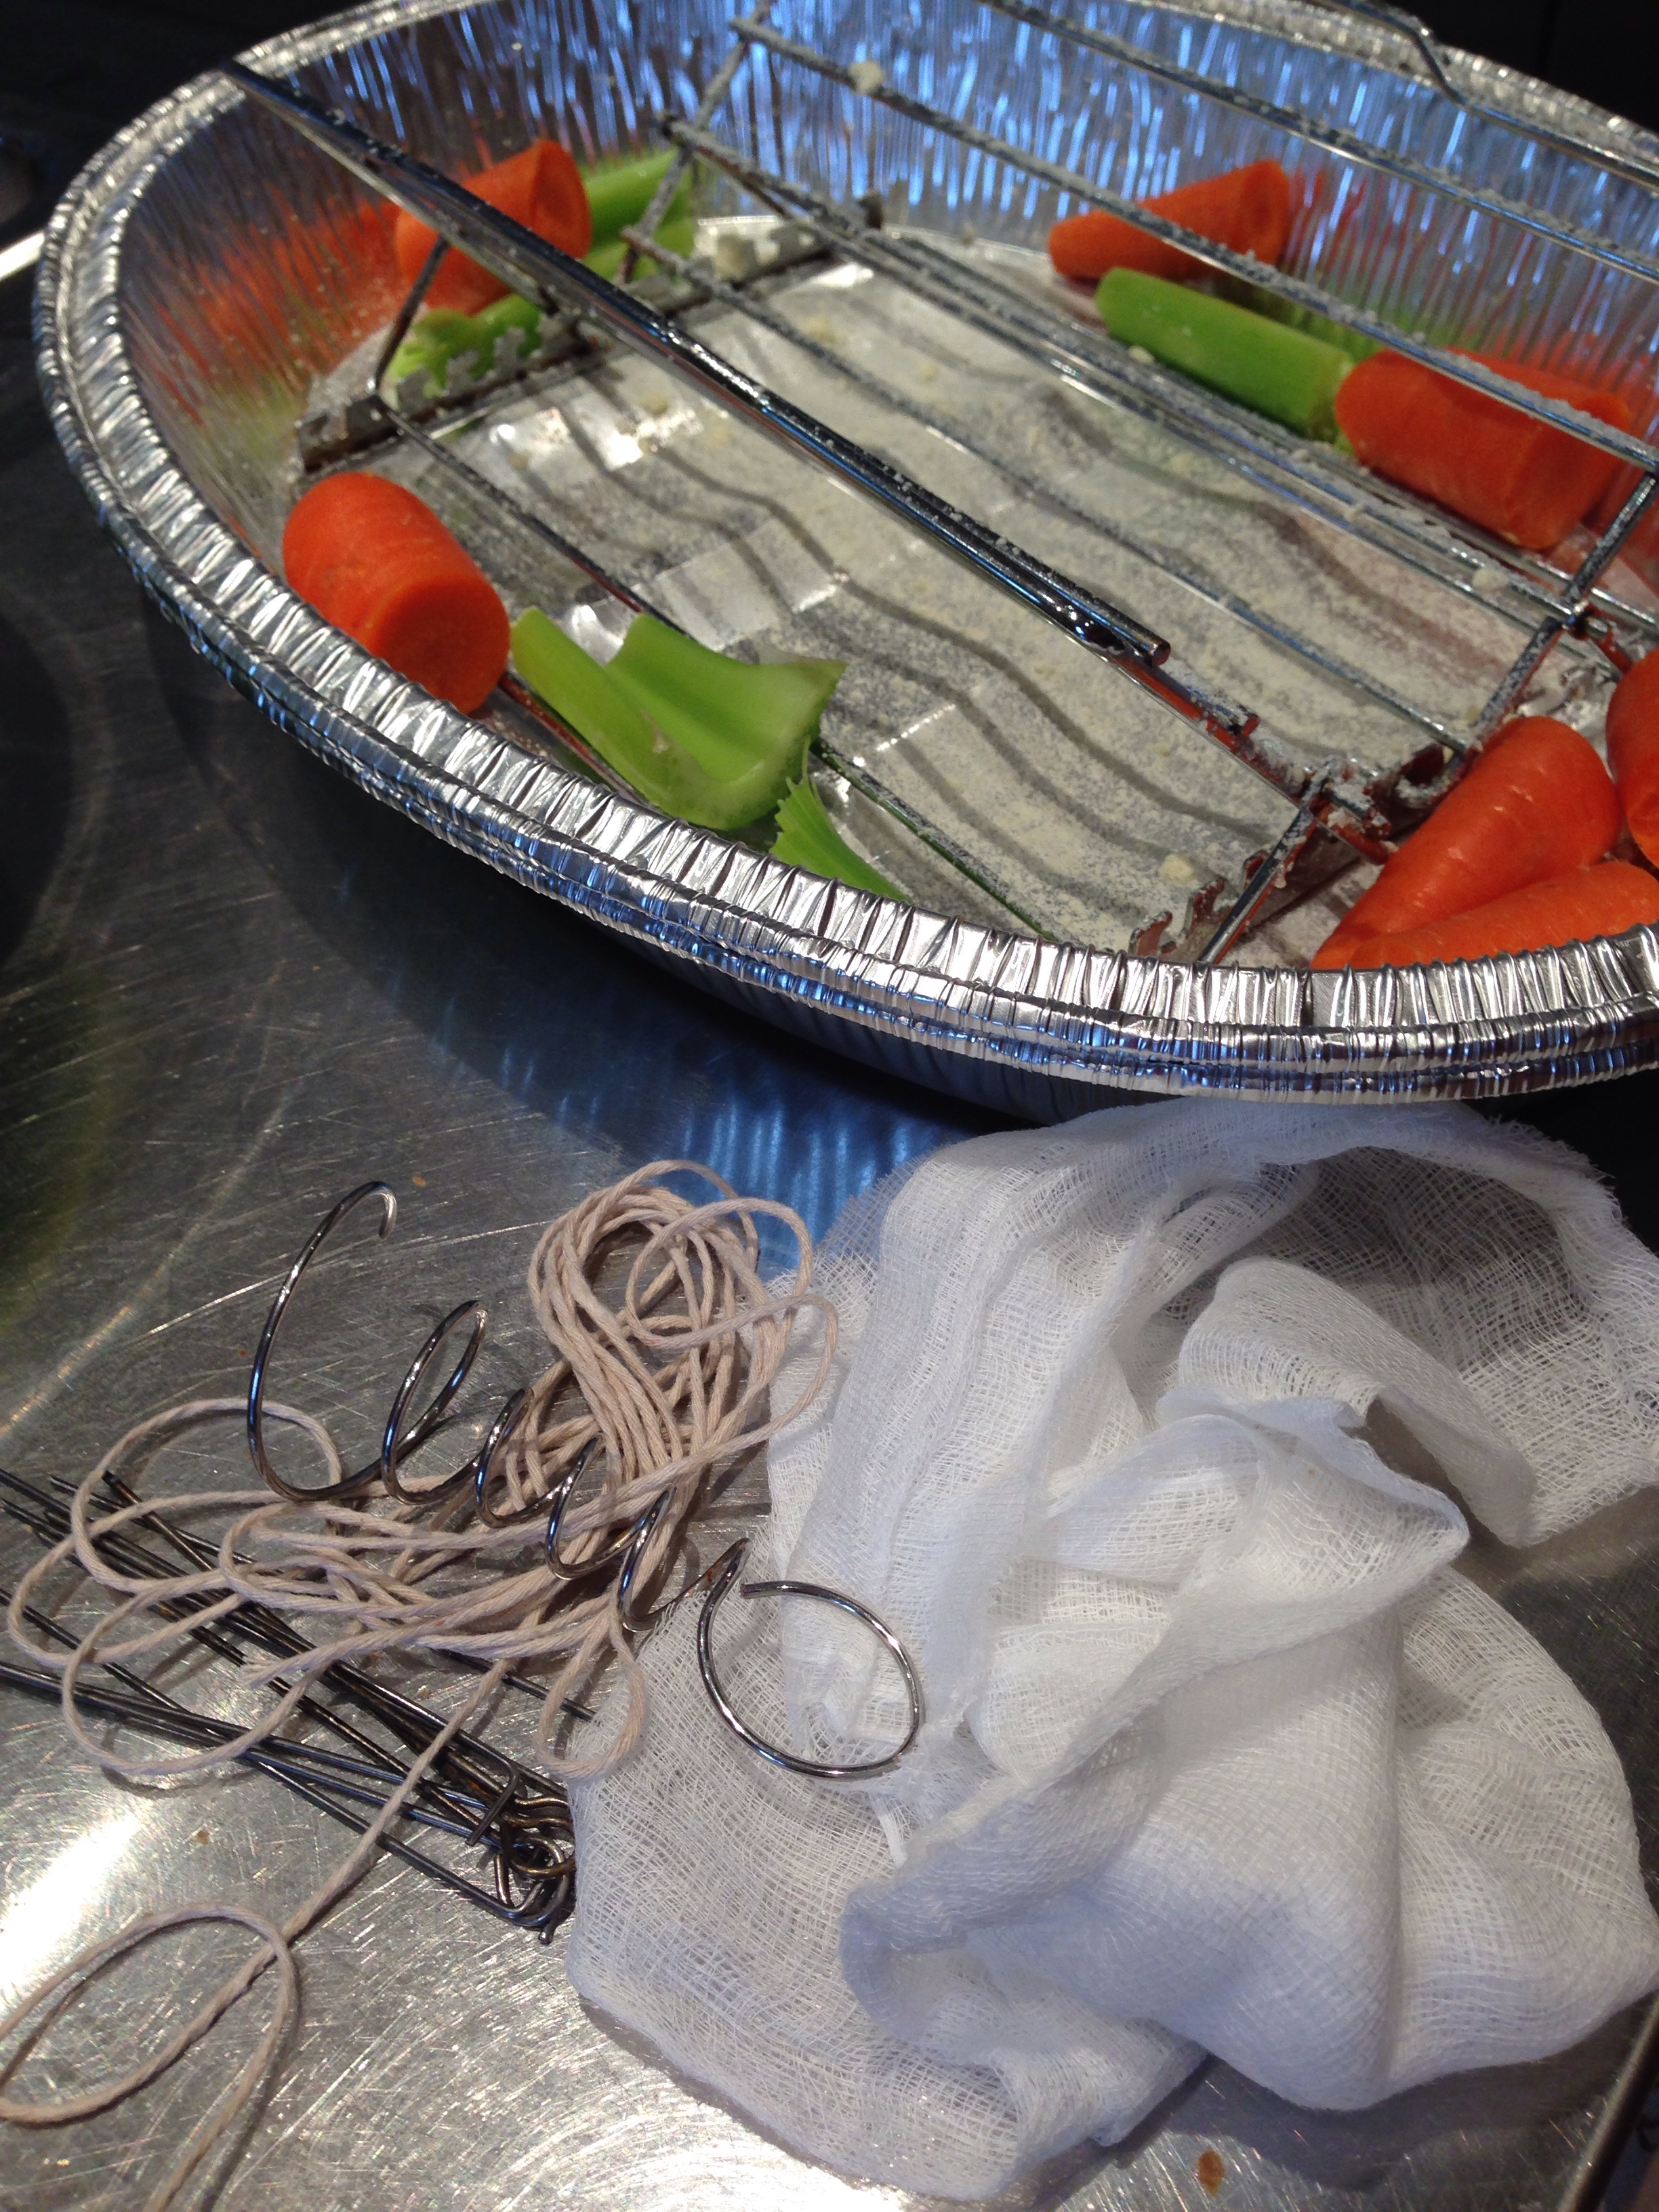
  • 2 carrots, peeled, chopped into 1-inch cubes
  • 1 red pepper, seeded, chopped into 1-inch pieces
  • 1 cubanelle pepper, seeded, chopped into 1-inch pieces
  • 1 honeycrisp apple, peeled, cored and chopped into 1 inch pieces
  • Cooking spray or olive oil or coconut oil*
  • Salt and pepper
Roux and Stew base
  • 5 tbsp. flour or coconut flour**
  • 3 tbsp. coconut oil
  • 7 cups of water
  • 2 Knorr® vegetable stock concentrates
  • 1-14oz can PC™Black label peeled yellow tomatoes
  • ¾ cup PC Memories® of Dad’s Grill***
  • 3 tbsp. grainy Dijon mustard
  • 1 tsp. salt
  • ½ tsp. turmeric
  • ½ tsp. paprika
Roasting Pork Tenderloin

Cover a 3 sheet pans with aluminum foil and coat with cooking spray or coconut oil.

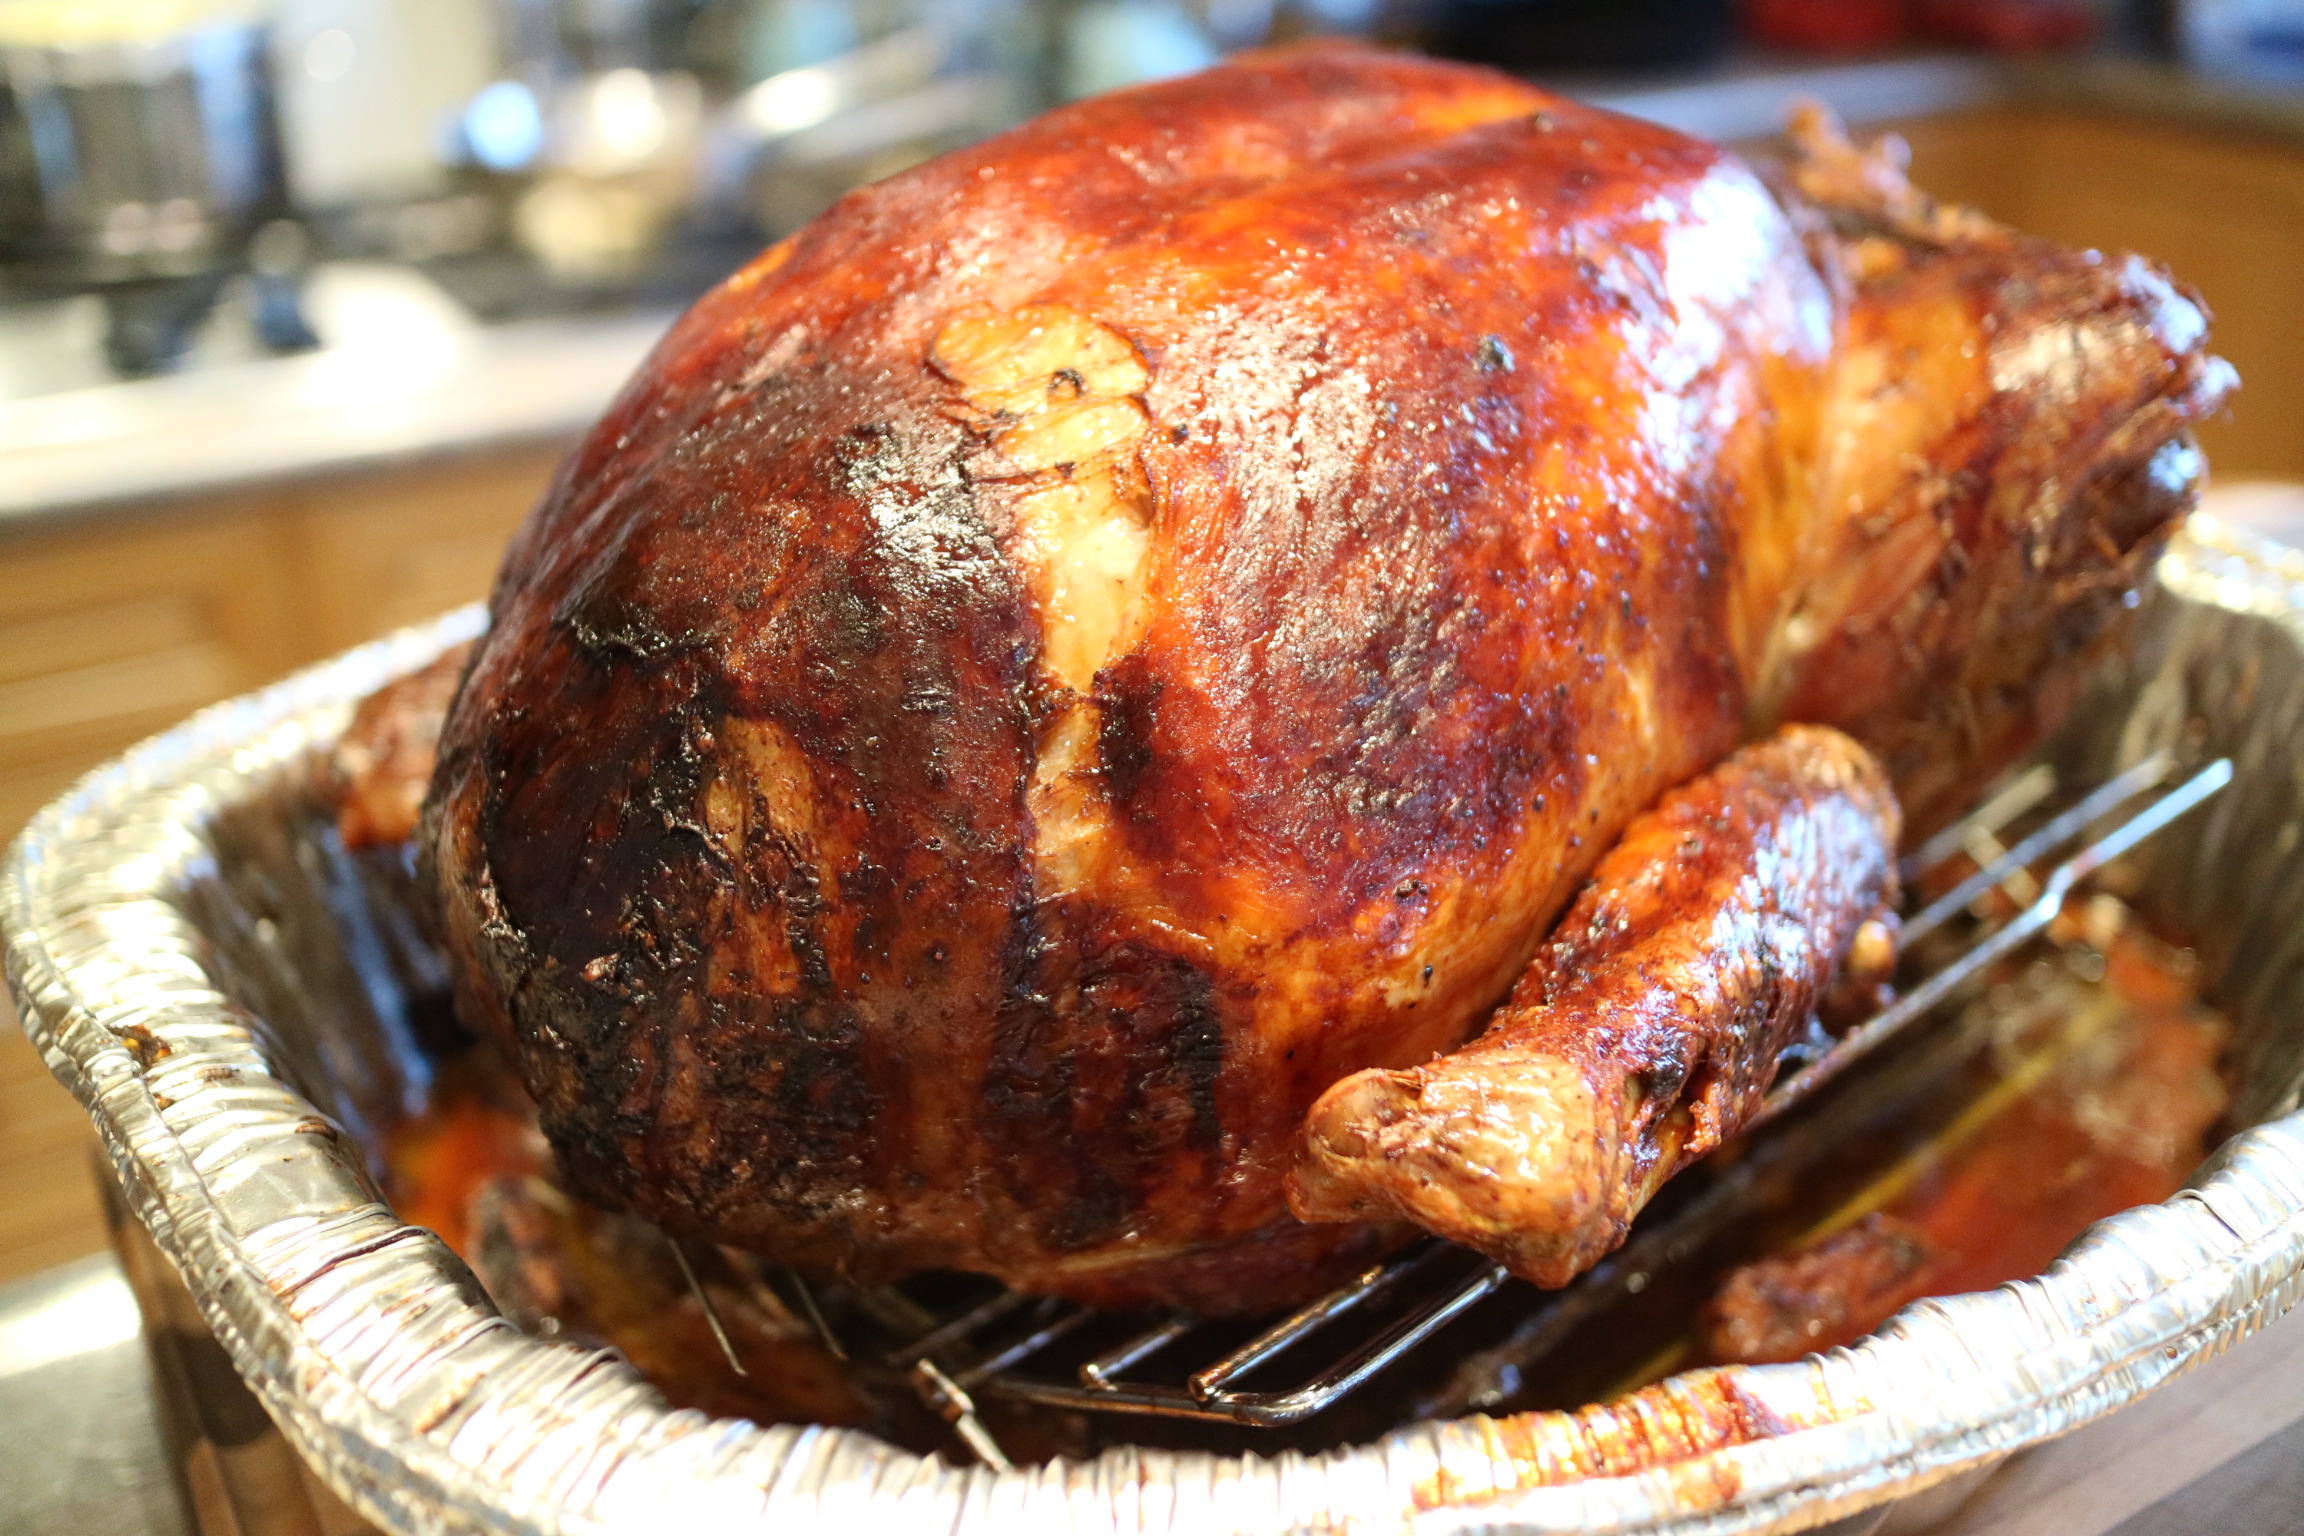
Place cleaned pork tenderloin on the first of 3 prepared sheet pans, rub with olive oil and coat generously with PC™Harissa spice blend.

Place in a 400℉ oven for approximately 35-40min until cooked and firm to the touch.

Set aside.

Roasted Vegetables

Place the peeled and cubed sweet potatoes and carrots on the second prepared sheet pan. Uniform cubes will help the vegetables cook at the same time on the same sheet pan. Don’t overcrowd the sheet pan. The purpose is to roast the vegetables; not steam them. On the last of the 3 prepared sheet pans add the cleaned red and cubanelle peppers and apple pieces. Coat vegetables with your oil of choice*. Sprinkle with salt and pepper.

Place the garlic cloves on a small piece of aluminum foil with a little coconut oil and fold closed and place in oven.

Place the pans with the vegetables in the oven to roast for approximately 35-40 min; give them one or two stirs throughout. To check doneness you are looking a nice caramelized and crispy outside, and a just-cooked-through inside.The sheet pan with the peppers will roast in less time approximately 15-20 min. than the sweet potato and carrot sheet pan.

Making the Roux and Stew Base

While the vegetables are roasting, make the roux, in a large heavy bottom pot. Melt the coconut oil. Whisk in the flour or coconut flour if using. Cook the roux at medium high until the mixture is a golden to deep brown approximately 10-12 min. Stir the flour and coconut oil continuously. Flavour and colour of the roux will determine the richness of the stew.

Reduce to low heat. Slowly while whisking to prevent lumps add water to the pot. Add in the Knorr® vegetable stock concentrate. Whisk until the concentrate is dissolved. Add in the peeled yellow tomatoes, mustard, and PC Memories of® Dad’s Grill. Smash and chopped the roasted garlic cloves and add to stew pot.

Add turmeric, salt and paprika. Switch to spoon and stir; cook for 5-7 minutes on medium heat.

Cube the pork tenderloin into bite size pieces. Add to the stew pot.

Add roasted vegetables. Cook the stew for approximately 20 min. on a medium low heat to blend flavours. Taste and adjust seasoning if necessary.

All the components are cook so you are incorporating the components into the stew for flavour. It will get even better the next day.

The longer the stew is cooked the more the vegetables will break down in the sauce.

Moroccan Roasted Vegetable And Pork Tenderloin Stew

Moroccan Roasted Vegetable And Pork Tenderloin Stew

Tips

Removing the pork tenderloin and adding more vegetables could easily transform this stew into a vegetarian version. Roasted cauliflower, mini potatoes and/or butternut squash would all be good additions to bump up the amount of vegetables. Also adding canned beans is a great option.

It would also good with other meats such as chicken thighs.

*Coconut oil adds great flavour

**Coconut flour is a great alternative for those with gluten allergies. I did not make my version with coconut flour, so I cannot determine the cooking time for this alternative at time of post.

***Sometimes when I’m making dinner or recipes, I scourging in the fridge looking to use up leftovers or condiments. A lot of “bottom of the jar” is incorporated into my recipes. That is why the PC Memories of Dad’s Grill and grainy mustard are used in this recipe. I did “measure” the ingredients so the recipe could be recreated in your kitchen. The Dad’s Grill is an apple based BBQ sauce and you could swap in an unsweetened applesauce or BBQ sauce. And a Dijon or yellow mustard could also work but not necessary as 3 tbsp. in a big pot of stew will not be huge factor.

Spelt Risotto with Roasted Butternut Squash

Spelt Risotto with Roasted Butternut Squash

My dinner options for Wednesday were very slim. I had already used the “egg” option on Tuesday night with Mini Goat Cheese, Bacon and Leek Quiches. I was contemplating the grilled cheese cop-out since I need to be out the door and on the ice for 7pm.

This box of Spelt grains in my cupboard was calling to me for sometime. I have never cooked Spelt or even made a Spelt Risotto. I did know that the grains could be cooked in the same method of risotto.

I had all the ingredients for a risotto and decided to tackle it in the short time frame.

I love cooking Risotto. And I think I have pretty much mastered the process. 😉 Risotto is a great change-up from rice or pasta.

I found that the Spelt grains were much more forgiving than Arborio rice. I could actually walk away from the stove which is something you shouldn’t do. And I used a little more stock than when I cook a regular risotto. I tasted the texture of the spelt  a lot through the last part of the cooking process.

If I had planned better I would have used sage instead of the herbs listed in the recipe below; it tasted fantastic with that combination. It was a hit with the family. And an awesome vegetarian option especially since it is high in protein.

I recently hosted a birthday dinner for my friend Emma. The Menu’s theme for the Dinner Party was Spring even though the weather was NOT. I made an awesome Risotto with Roasted Shrimp, Peas and Edamame.

Birthday Dinner Pictures below:

Appetizer: Marinated Salmon Rollup

Appetizer: Marinated Salmon Roll-up

Appetizer: Brie, Figs and Pear

Appetizer: Brie, Figs and Pear

Asparagus Salad

Asparagus Salad

Risotto with Shrimp, Peas, and Edamame

Risotto with Shrimp, Peas, and Edamame

Dessert: Homemade Lemon Sorbet with Maple Syrup Blueberries

Dessert: Homemade Lemon Sorbet with Maple Syrup Blueberries

Always check out my Instagram @the5oclockrush  to see my daily dinners photos.

Continue reading

My Best Roast Turkey for Thanksgiving Dinner

American Thanksgiving is in 9 days!

If you haven’t Thaw your turkey! Start thawing it in the refrigerator on a rimmed cookie sheet ASAP.

FYI A completely frozen turkey needs 24 hours for every 5 pounds of turkey (weight). A thawed turkey sitting around for an extra day or two in the refrigerator is much better than having to deal with a frozen turkey on Thanksgiving day.

Here is a checklist of your Turkey roasting equipment inventory you will need before Thanksgiving:

  • A roasting pan and a V-shaped roasting rack

I purchase 2 disposable roasting aluminium pans; doubled up for strength (because who wants to wash more dishes or those huge roasting pans)

UPDATE: Review for Circulon® Roaster Pan Review and Giveaway 

If you don’t have a roasting rack, chopped extra mirepoix or you can make your own by simply scrunching up a long piece of aluminium foil into a figure 8.

  • A working meat thermometer I invested in The iGrill
  • A baster or brush, preferably silicone
  • Butcher’s string (cotton based food-grade approved) or Architec Stretch Hot Cooking Bands 2
  • Cheesecloth, double thickness and size of the turkey’s breast
  • Cooking Spray
  • A carving set or electric knife, my husband’s new friend
  • And a working oven 😉

This is the third post in My Best Thanksgiving Recipes, Tips and Tricks.

Check out My Best Stuffing for Thanksgiving Dinner and My Best Mashed Potatoes for Thanksgiving Dinner 

The Best Roast Turkey for Thanksgiving Dinner

Preheat Oven 450F Serves 6-8
Thanksgiving Dinner 2014

Thanksgiving Dinner 2014

Mise En Place

PC Young Turkey -frozen

PC Young Turkey-frozen

  • 1 16-18 lb. whole turkey, defrosted and at room temperature
  • My Best Stuffing for Thanksgiving Dinner prepared and at room temperature
  • 2 garlic cloves, peeled
  • 1 medium onion, peeled and quartered
  • 2 stalks celery, cleaned and chopped
  • 2-3 carrots, peeled and chopped
  • 1 cup butter, melted
  • 1 cup white wine
  • 1 box reduced-sodium chicken or turkey stock

Calculating your turkey’s cooking time. With my method of roasting a turkey, cooking time averages 20 minutes per pound for a stuffed turkey.

How to calculate cooking time: i.e. 16 lb. turkey X 20 min. per lb. = 320 min. divide by 60 min. in an hour = approx. 5 hours

please note if you have a convection oven the cooking time is 15min. per lb.

After you do the math, add some additional prep time 15 min. and that the turkey should rest at least 30 minutes before carving. The total turkey time has worked out for the above example 5 hours & 45 min.

So, if you want to have dinner at 6pm, aim to have the turkey out of the oven at 5pm and work backwards from there. This is the time the turkey needs to go in the oven.

Preparing the Turkey

Preheat your oven 450 F and take the turkey out of the fridge; let the turkey sit out at room temperature while the oven is heating up. Remember to remove extra oven racks and adjust the rack you are using so that turkey has plenty of space to roast.

Place your turkey on a large cookie surface and unwrap your turkey.

Reach into the cavity and take out the neck (it looks like a long curved piece of bone with some meat attached.) Place the neck in a medium size pot with the reserved vegetables from preparing the stuffing. (i.e. parsley stems, celery stalks and carrots) fill the pot with cold water and simmer.


Remove any plastic “thingy” holding the legs together. Discard.

Check inside of the neck cavity look for a little bag with the giblets (the heart, liver, etc.) sometimes you find this inside the main cavity. I just throw it away. Others will use the contents for giblet gravy.

Bend under the wing tips and now it is time to stuff the turkey with My Best Stuffing for Thanksgiving Dinner.


Trussing, or tying up the turkey into a more compact package, make sure that the breast and thighs cook to the right temperature. The white meat won’t overcook while the dark meat is still cooking. Truss using butcher’s twine or just tie the legs or use the silicone elastic bands.

Mise En Place for Turkey for Thanksgiving Dinner

Mise En Place for Turkey for Thanksgiving Dinner

Spray the disposable roasting pan and V-shaped roasting rack liberally with cooking spray. And place your stuffed turkey on the rack and into the prepared roasting pan with 2 peeled garlic cloves, 1 onion quartered, 2 stalks of celery chopped, 2-3 peeled and chopped carrots to flavour the drippings.

One of my tricks is that I think to make for juicy breast meat, is to start the turkey breast down and roast for about 20 minutes at 450 F until slightly golden in colour. Then flip the turkey to breast side up for another 20 minutes at 450 F.


Remove the turkey from the oven. Prepare the 1 cup of melted butter, 1 cup white wine and ½ cup of stock in a glass measuring cup. Dip the cheesecloth in the liquid, saturate and place on turkey’s breast.

The second trick is the cheesecloth protects the breast from getting too brown and dried out.

Add ½ cup of chicken or turkey stock to the roasting pan.

Turn the oven down to 325 F. Place the cheesecloth-covered turkey back in the oven.

Roast and baste.

Baste the turkey including the cheesecloth with the wine, stock and butter mixture. And with some of the delicious juices that are gathering at the bottom of the roasting pan. The cheesecloth will get brown, no worries.

Continue to baste.

Start checking the temperature 30-45 minutes before your calculated time just to be sure since every oven is different. Cook until a thermometer inserted into the thickest part of the thigh registers 165F.  The temperature of the breast should be around 155F. 


Remove turkey from the oven and place on carving board and/or clean-rimmed cookie sheet. Baste the turkey with drippings to help moisten the cheesecloth before trying to remove it from the skin of the turkey. Cover loosely with aluminium foil and rest at least for 30 minutes even up to an hour. Resting any meat such as a turkey or even a roast beef that has been cooking for a long time redistribute the juices themselves back into the meat. Don’t worry; this large piece of meat will not get cold.


While the turkey is resting, is the perfect opportunity to prepare the gravy using the pan drippings, reserved starchy potato water and simmering stock.

My Best Turkey Gravy for Thanksgiving Dinner. Stay Tuned!

Carve the turkey by removing the legs and breasts of the bird. Once the breast meat is cut off the bones, cut into slices. Cut the thigh meat off of the bones.

Thanksgiving Turkey 2014

Thanksgiving Turkey 2014


Thanksgiving Turkey 2017

Roast Turkey 2017


Thanksgiving Turkey 2017

Roast Turkey for Thanksgiving 2017


Thanksgiving Dinner 2014

Thanksgiving Dinner 2014


Thanksgiving Dinner 2017

My Thanksgiving Dinner Plate for 2017

Chicken Stew with Bacon, Cheddar and Dill Biscuits

Last night for dinner I made Chicken Stew with Dumplings  Bacon, Cheddar and Dill Biscuits.

I decided the last minute to switch from dumplings to biscuits because I felt a little ‘flaky’ instead gooey. LOL! 😉

It was a fake-it, make-it recipe. A well stocked pantry helped out, as I always have Bisquick for that ‘just in case’ moment of a recipe development.

The biscuits turned out awesome especially with a pat of butter! 😀

Over the weekend, we had the pleasure of hanging with our friends and their little bundle of sweetness. My friend Lana is a talented professional photographer. She took a few pictures of me and our dinner of flattened chicken. She said “smile even if I’m just snapping pics of your hands”. Obviously, some pics were taken above MY HANDS! Should have combed my hair and changed my top. Yikes!

I aspire to have great pictures like hers on my blog……ONE DAY.

Always check out my Instagram @the5oclockrush  to see my daily dinners photos. My food pictures are improving. There are ‘real time’ pictures of my dinner plates.

Please check out Lana’s Facebook page Viva Image Group – Photography and Videography Service

Chicken Stew with Bacon, Cheddar and Dill Biscuits

Serves 6
Preparation 30 minutes Cooking 60 minutes

Chicken Stew with Bacon, Cheddar and Dill Biscuits

Chicken Stew with Bacon, Cheddar and Dill Biscuits

Mise En Place

For Chicken Stew:

 Vegetables for Chicken Stew

Vegetables for Chicken Stew

  • 1 package of pancetta pieces *
  • 5 stalks celery, cut into 1-inch pieces
  • 1 medium onion, peeled and cut into 1-inch pieces
  • 5 medium carrots, peeled and cut crosswise into 1 1/2-inch pieces
  • 2 cloves garlic, chopped
  • 1 tablespoon olive oil
  • 9 boneless, skinless chicken thighs (about 2 pounds), trimmed, cut into 2-inch pieces
  • Kosher salt and black pepper
  • 2 tablespoons PC Roast Chicken Spice **
  • 1 cup all-purpose flour
  • 2 cups (480 ml) chicken broth
  • 3 cups water
  • 2 tablespoons whole grain Dijon mustard
  • 2 tablespoons chopped fresh flat-leaf parsley leaves
  • 2 tablespoons chopped fresh dill
  • 2 stalks of green onions, chopped
  • Optional: 1 package (10 ounces) frozen peas
For Biscuits:

Mise En Place

Mise En Place

  • 3 cups Bisquick
  • 1 cup skim milk
  • 4 slices, pre-cooked bacon strips, cut into bite size pieces ***
  • ½ cup cheddar cheese, grated
  • 2 tablespoons chopped fresh dill, or 3/4 teaspoon dried dill weed

To make the Chicken Stew:

In a Dutch oven (or a 5- to 6-quart heavy pot with a tight-fitting lid), cook the pancetta until slightly crispy.

* I had Pancetta in my fridge to use up. You can substitute bacon or omit. If you do omit, add oil to pot to saute the vegetables.

Add the celery, carrots, onions, and garlic to the pot and cook, stirring, until the vegetables begin to soften, 5 to 7 minutes. Transfer to a plate; reserve the pot.

Season the chicken all over with the roasted chicken spice, salt and pepper. In a resealable plastic bag, place the seasoned chicken pieces with flour.

** PC Roast Chicken spice grinder has the typical flavours associated with roast chicken such as sage, marjoram, roasted garlic, thyme etc.

Seal bag and shake until the chicken pieces are evenly coated. Using the drippings and additional oil or butter, brown the chicken, 4 to 6 minutes per side. Add the whole grain Dijon mustard, water and chicken stock.

Add the vegetables and pancetta back to the pot; stir. Cover and place in 350F oven and bake for 60 minutes. (I place the pot on a cookie sheet in case there is spillage and I hate cleaning my oven)

Chicken Stew Ready for Oven

Chicken Stew Ready for Oven

Remove from oven; add the fresh green onions and fresh chopped parsley and dill. Seasoned to taste with additional salt and pepper if necessary.

To make the biscuits:

In a medium bowl, whisk together Bisquick, dill, bacon pieces and cheddar cheese.

*** I always cook the entire package of bacon and IF there is any leftover, I freeze it for future recipes. Or you can use the pre-cooked package bacon. Tip: Use scissors to cut the bacon into small pieces.

With a fork, gradually stir in 1 cup milk to form a moist and soft batter.

Using a spring-loaded ice cream scoop, place a scoop of batter into a greased muffins pan.

If desired, reserved a small amount of bacon and cheddar cheese to sprinkled on top of biscuits.

Bake at 450 for 12 to 15 minutes.

Chicken Stew with Bacon, Cheddar and Dill Biscuits

Chicken Stew with Bacon, Cheddar and Dill Biscuits

Confession: As you can see from the pictures above, I didn’t follow my own method of preparation. Originally I was planning on using my new smaller crock pot for dinner. I began preparing the chicken for the crock pot by browning it. I quickly determined that the crock pot was too small. Out came my Dutch oven and continue with cooking dinner in 2 pans.

I decided to write the recipe for my readers as if I began the cooking process in my Dutch oven. One pot, less dishes.

Friday Feature: Weekday Wrap Up

Time for the 5 o’clock rush Weekday Wrap Up

It is a cold and snowy in Canada today. For some great recipes to warm your bellies check out the Food Bloggers of Canada’s Soups & Stews Recipe Roundup Part 1.

My Low-Fat Homemade Cream of Tomato Soup with Crab and Goat Cheese is one of the soups in the Recipe Roundup.

And the American Thanksgiving is in 12 days the next blog post of Thanksgiving tips and tricks is up.

My Best Stuffing for Thanksgiving Dinner

Follow my Instagram feed for more daily dinner pictures at the5oclockrush.

Have a great weekend

Chef Kim

Bonus: A little trick How to easily peel a Mango 😉

Weekday Wrap Up